After reading my previous article “How to cut floor tiles for toilet flange and air duct?“, the next problem you may face is installing the toilet flange extension. There are couple of products on the market at Home Depot and Canadian Tire, however you may run into the problem of existing screws not aligned with the flange extension. If so, you are reading the right article.
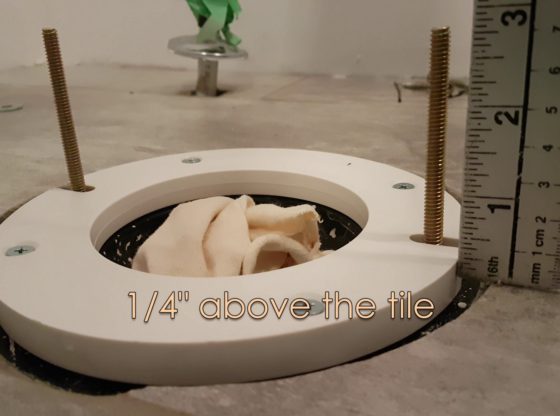
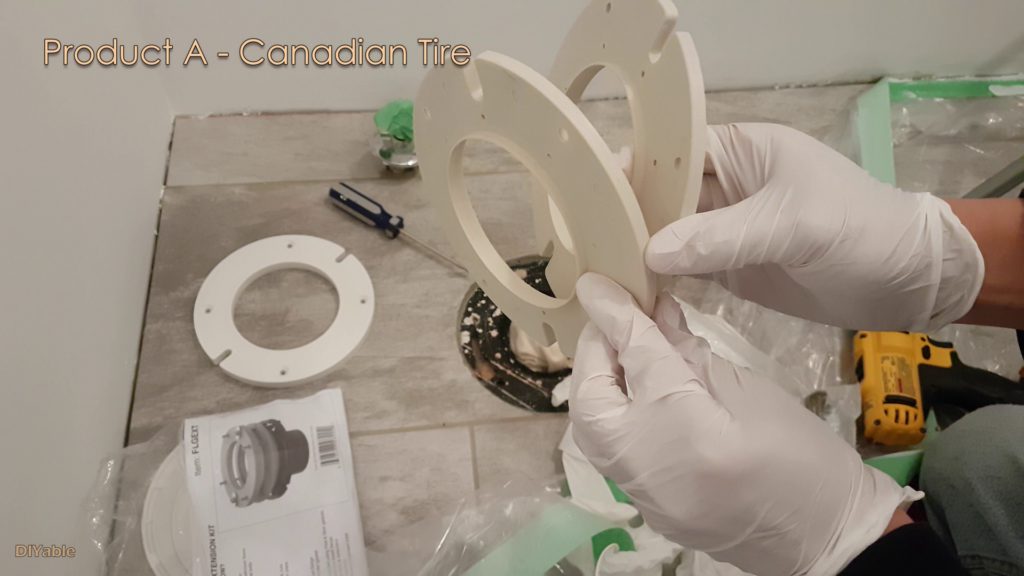
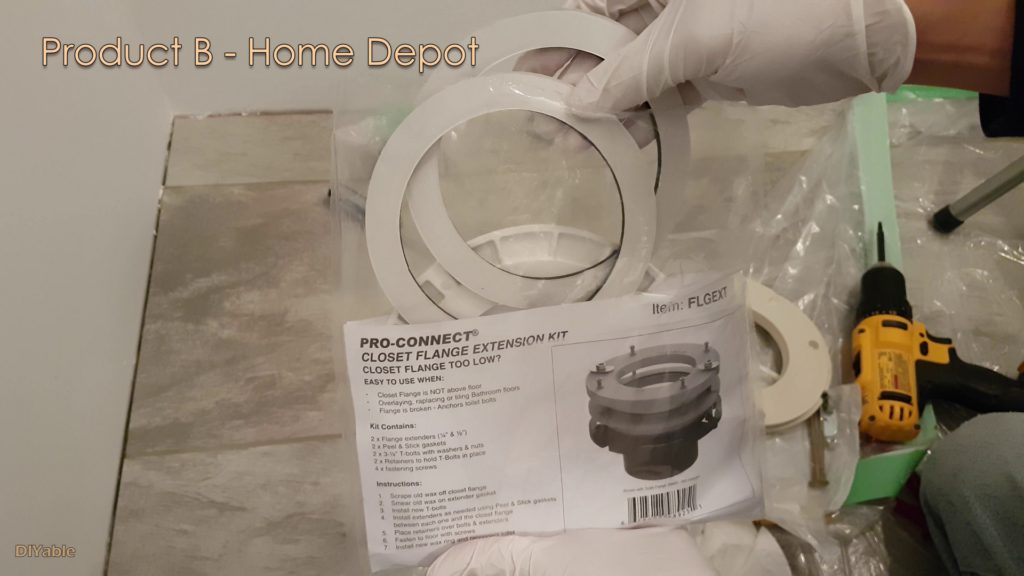
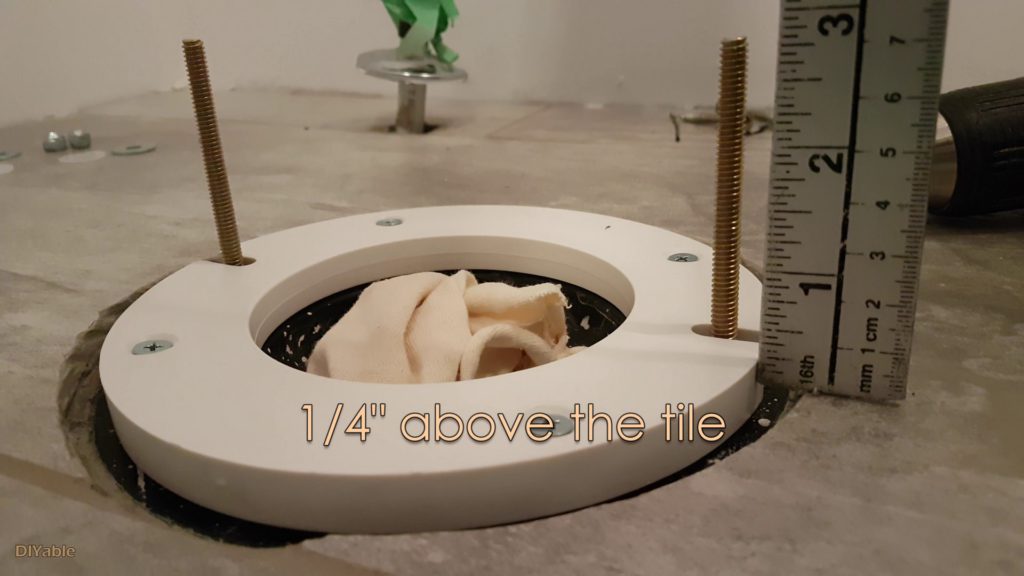
Before going into details, I chose the product from Home Depot because it’s one piece with very thick plastic and the height is perfect. The IDEAL height after installation is 1/4″ above the tile. Also, it came with the gasket to prevent leaking. On the other hand, the extension kit from Canadian Tire was very thin and if I were to use that, I had to stack two of them together and the instructions told me to apply silicone.. Arrggg.. not ideal.


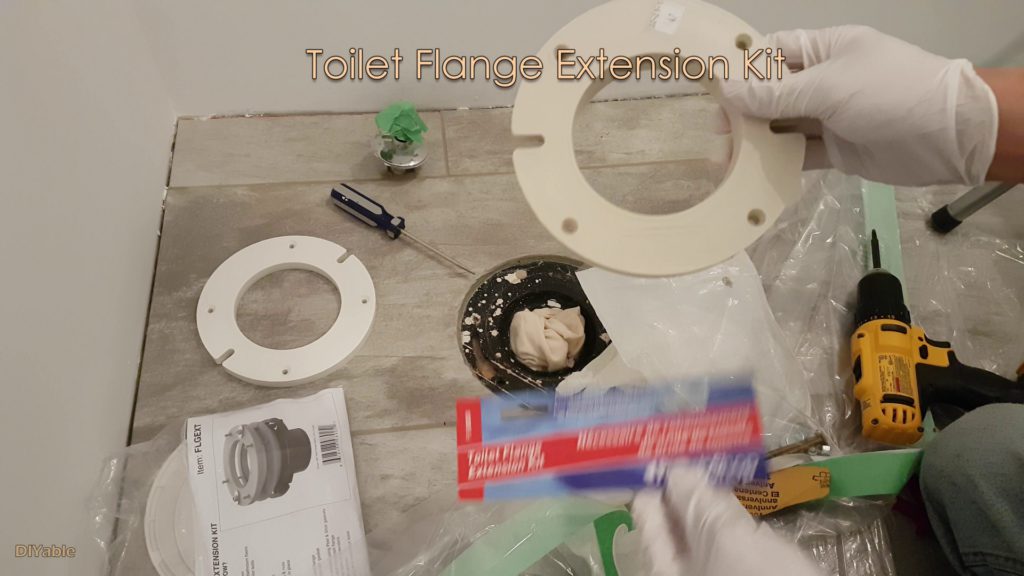

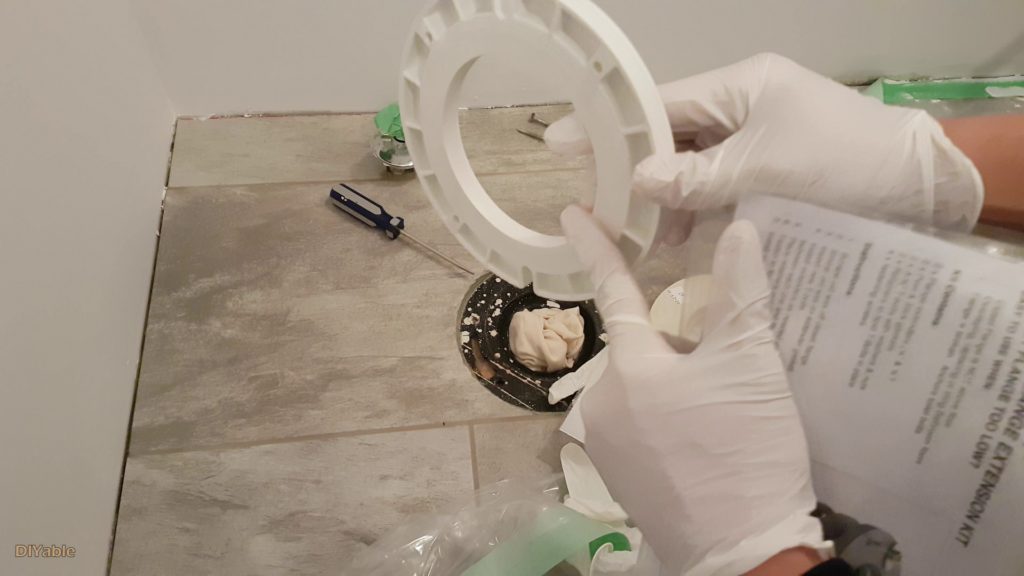


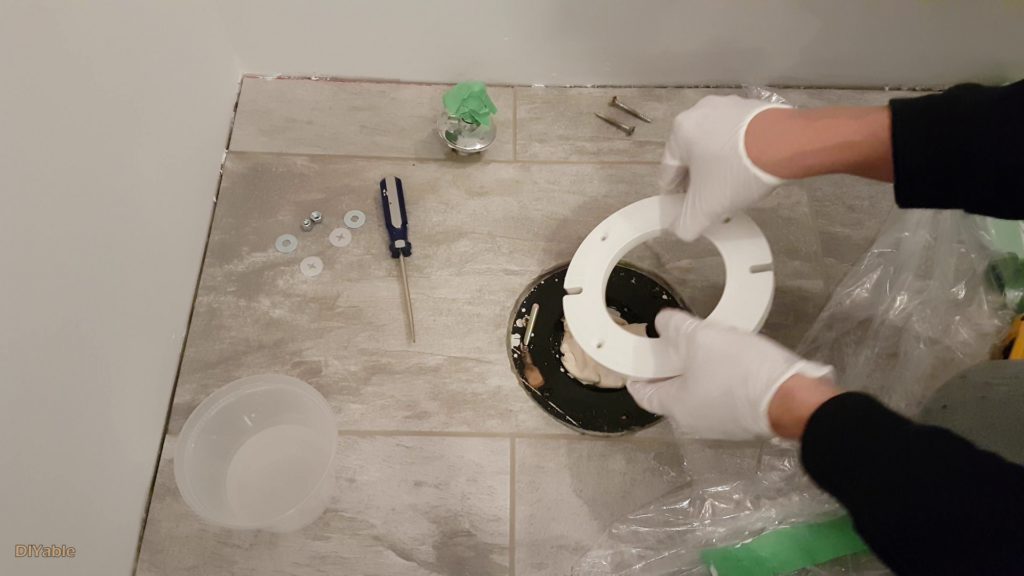
Solved the problem: Screws not aligned!
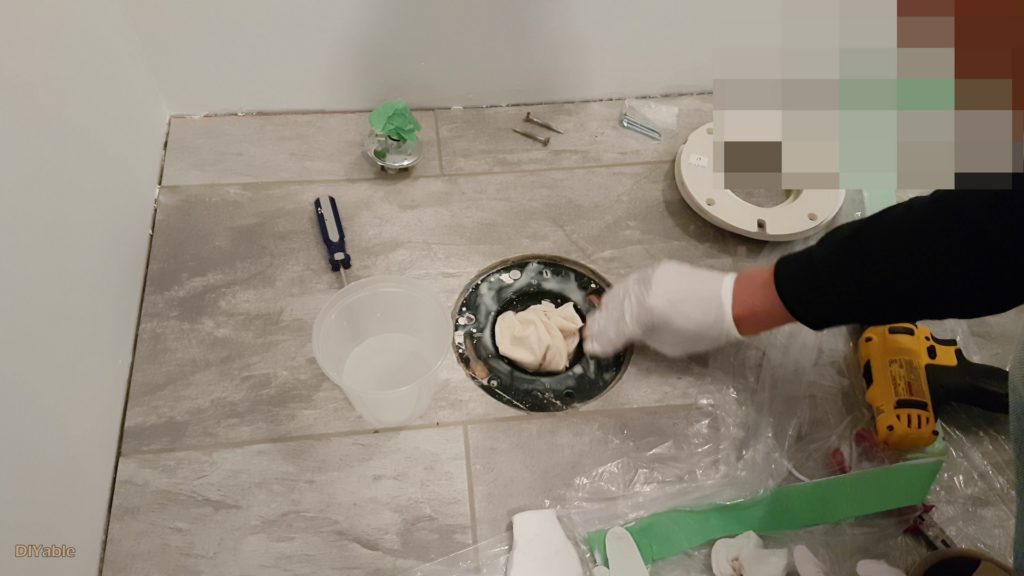
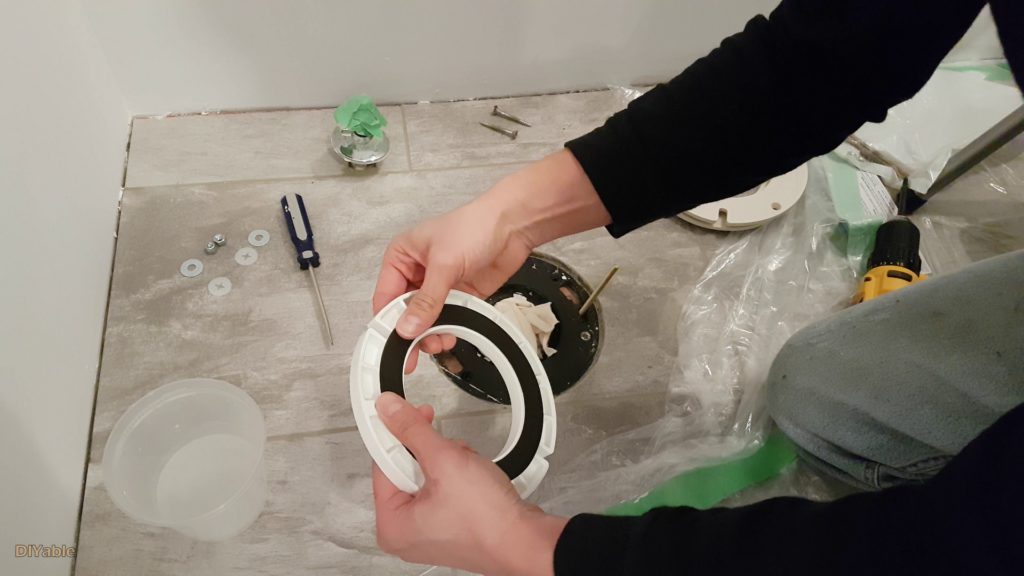
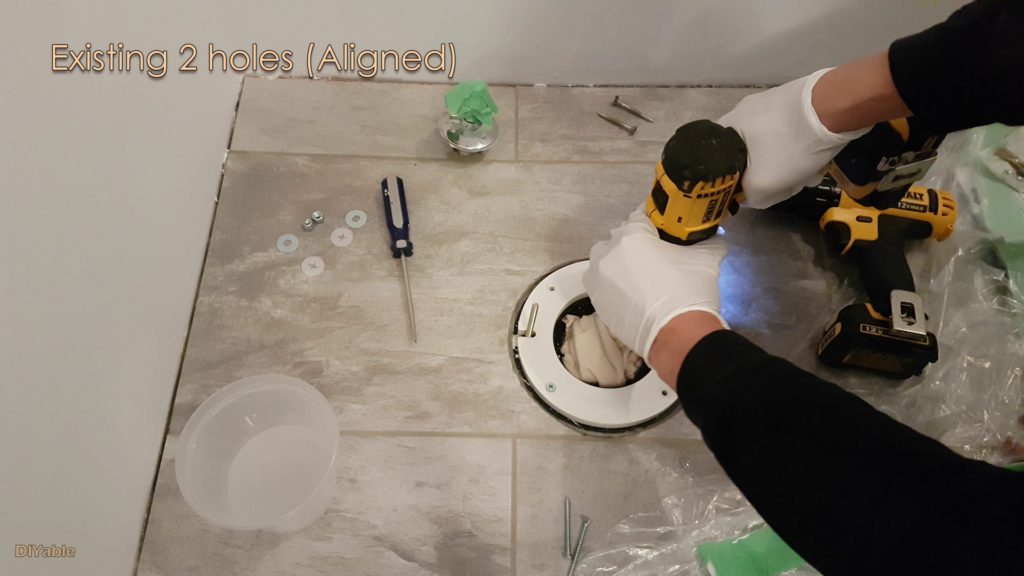
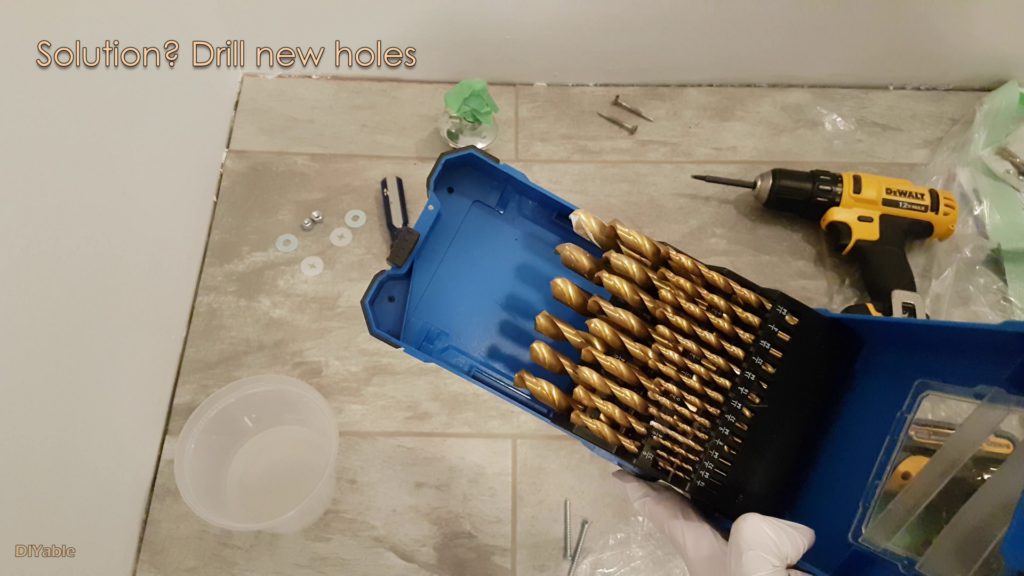
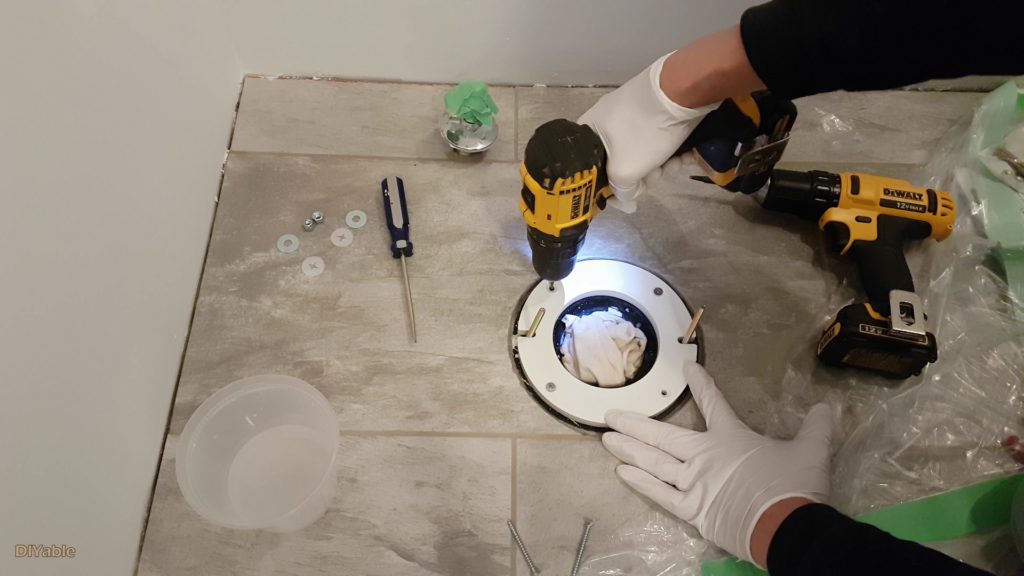
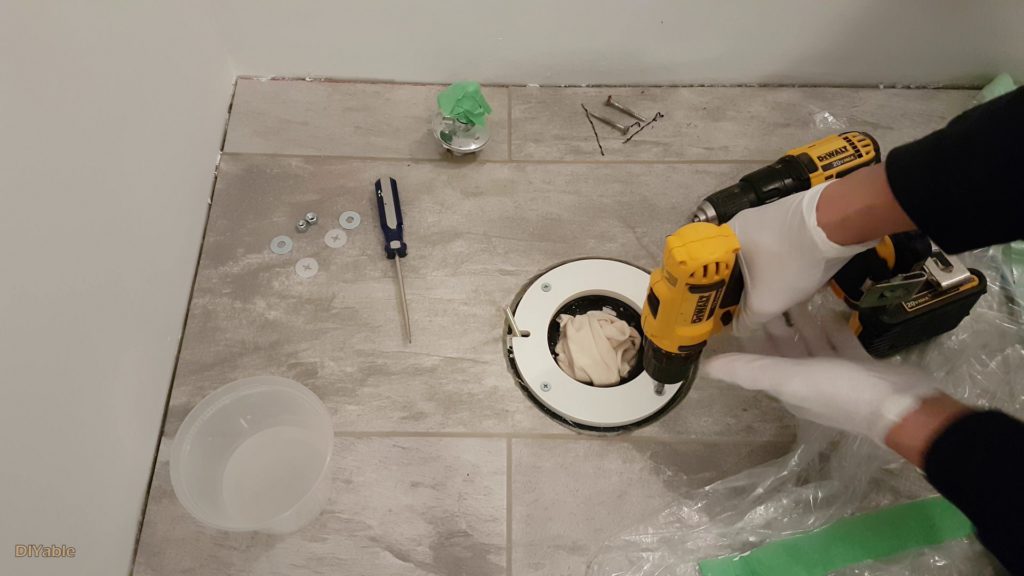
Next, I am using sand paper to prepare the surface of the existing toilet flange (black color one in the photo), then peeled the adhesive at the back of the gasket and applied on to the white color toilet flange extension. Now we are ready to install. At this point, there are 2 screws perfectly aligned with the existing holes. However the other 2 screws are totally off. What I needed to do is to drill 2 new pilot holes through the existing flange down to the plywood, then secure the stainless screws provided by the extension kit.
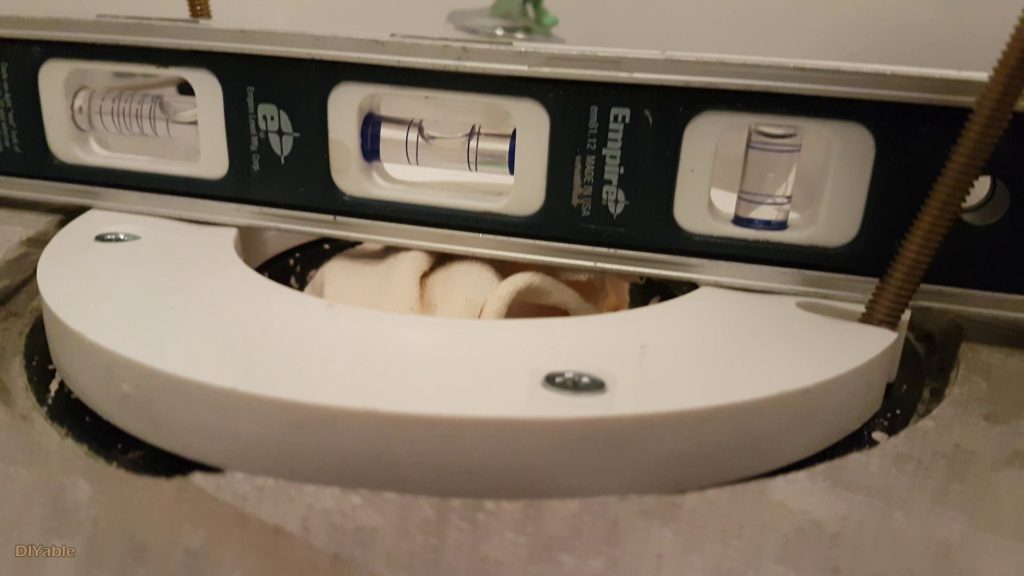
The installation is completed. To ensure your toilet won’t leak, you final height of the toilet flange extension should be 1/4″ ABOVE THE TILE.
This is the complete video. If you think it’s helpful, click here to SUBSCRIBE to my YouTube channel