Edited: Not to be confused with the new posts, this DIY project was done in our old house many years ago back in 2008.
Originally I wanted to hire some professional interlocking company to do the job because they have the proper machines and dump truck. Well, with my wife’s uncle being volunteer to help me for one afternoon, I started this project.
With our local new bi-law passed in 2006, I can extend the driveway up to 2 meters (6.6 feet) from the edge of the garage door. So, we can park 2 cars.
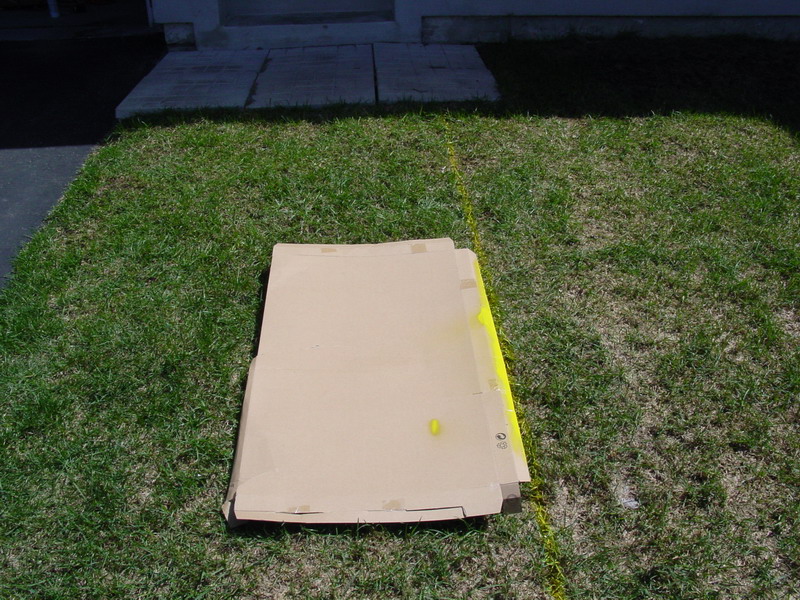
Day 1: First, I used some cardboards to draw the line, the size is 5′ x 20′ = 100 sq/feet. I started digging using basic tool – Pickaxe, like the poor farmers in China.

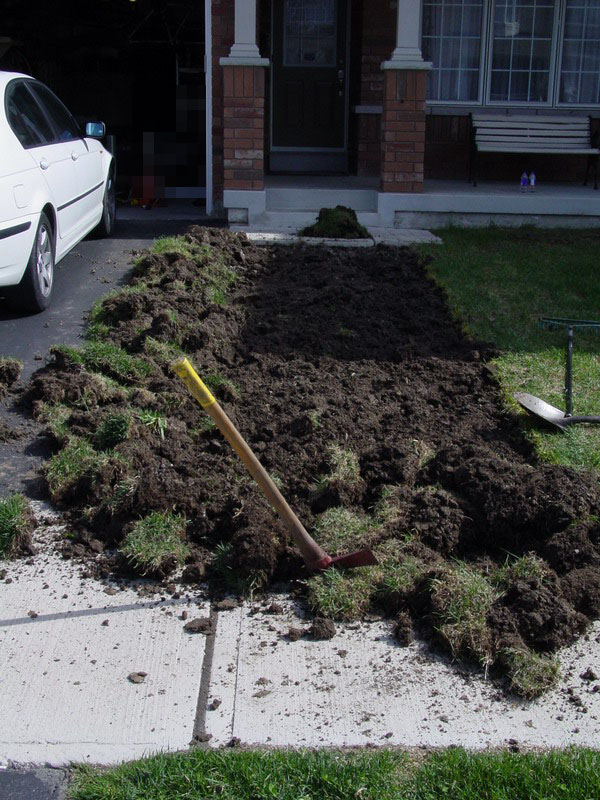
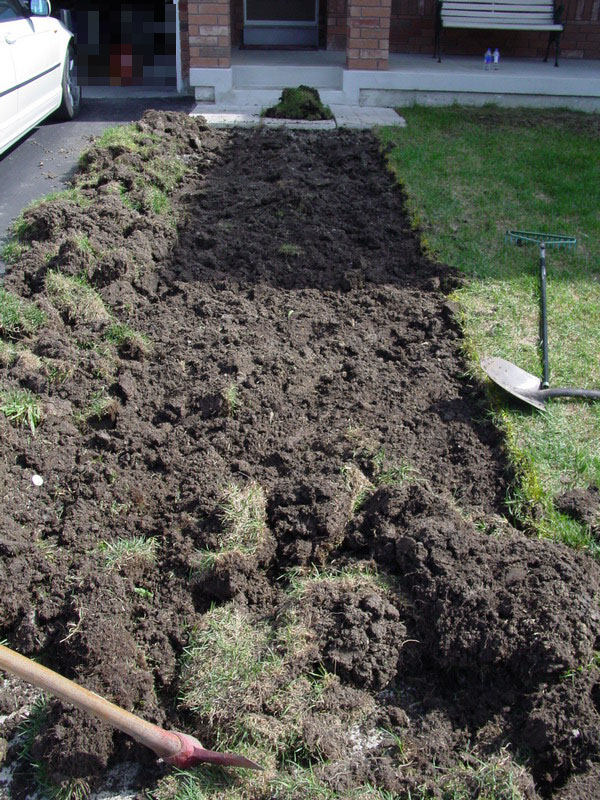

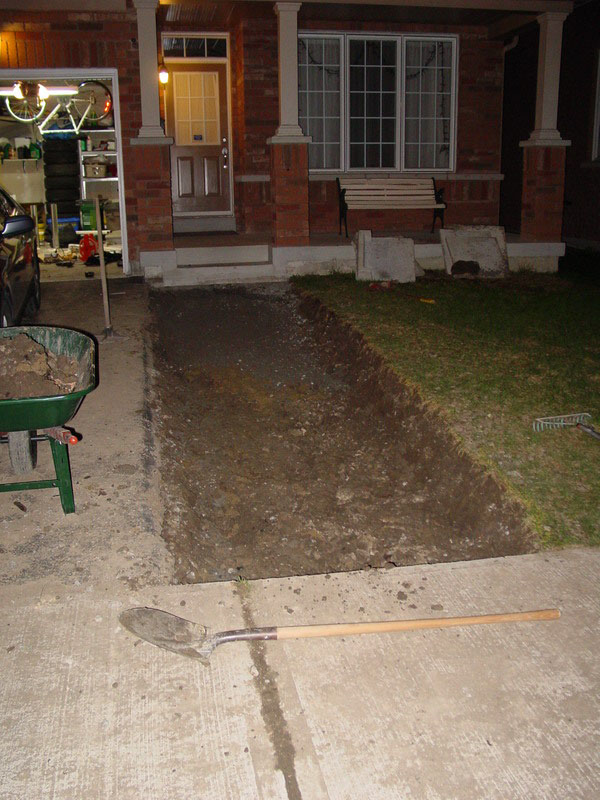
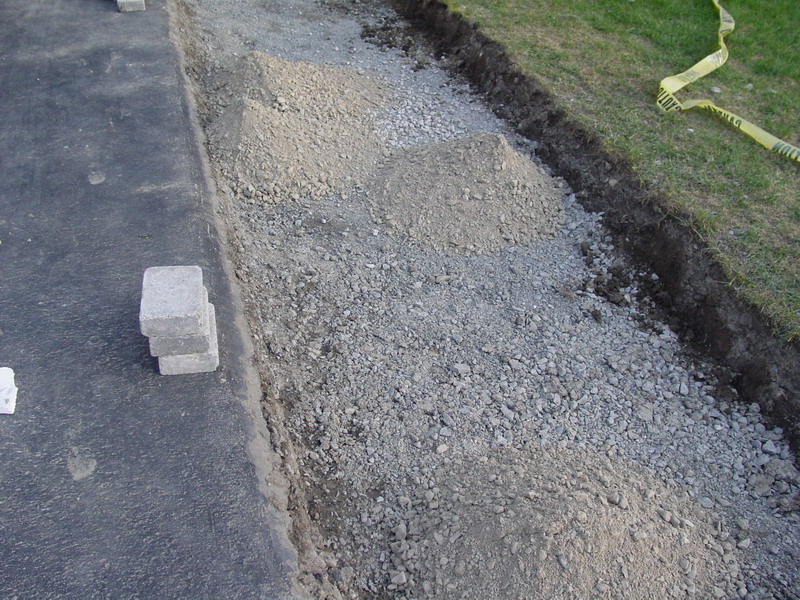


After digging for hours, we have over 50 bags of soil! Too bad our backyard is too small to take them, we have to transport it some legal place to dump them. Well, we got rid of the grass which was around 4″.
My Tips: If you don’t have a Bobcat machine, meaning you are digging manually by hands. Dig the day after heavy rain, it makes your life easier to get rid of the grass. However, water makes the soil heavier. Also, do it in early spring not during hot summer.
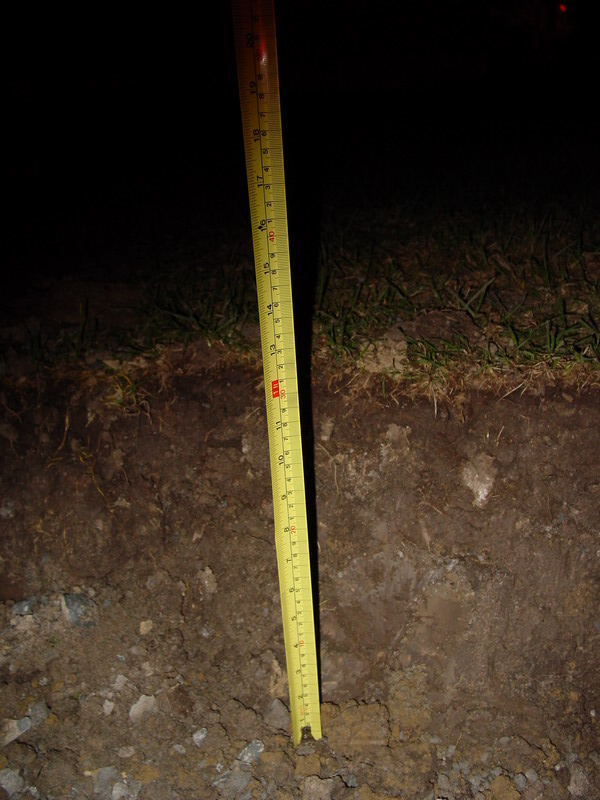
How deep should I dig?
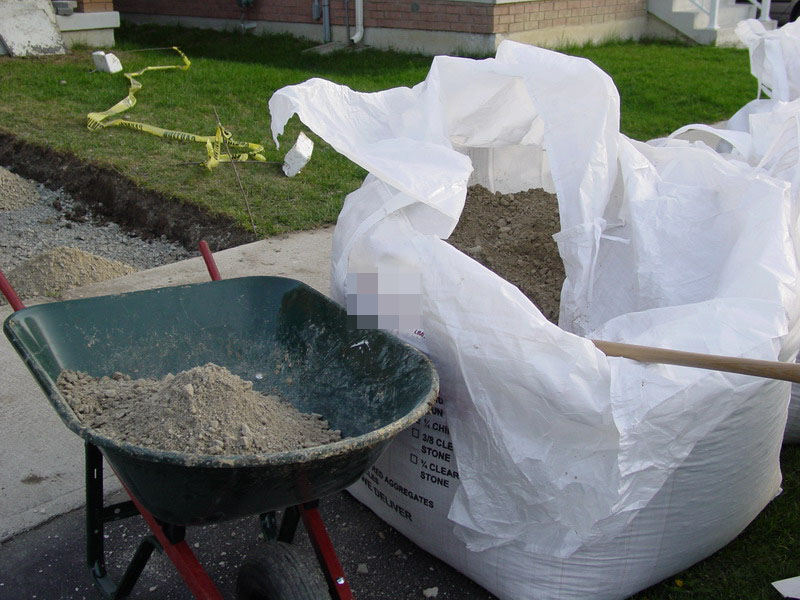
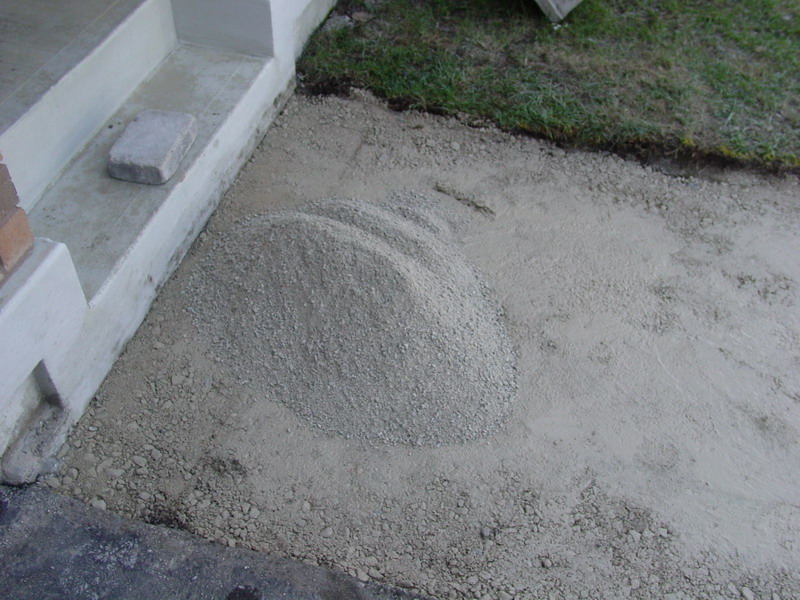
In the photos above, that was only 4 inches deep. According to the book from Home Depot and information I found on Internet, I supposedly need to excavate 12+ inches deep for driveway that parks cars (7 inches deep for walkway). A solid foundation is extremely important. The suggestion is to put 9 inches of gravel mix, they called it “Crusher Run” which has correct percentage of large 3/4″ gravel, medium, small and fines – to ensure high compaction, and then 1 inch of limestone/sand screening on top, leaving 2.5 inches for the interlocking stone.
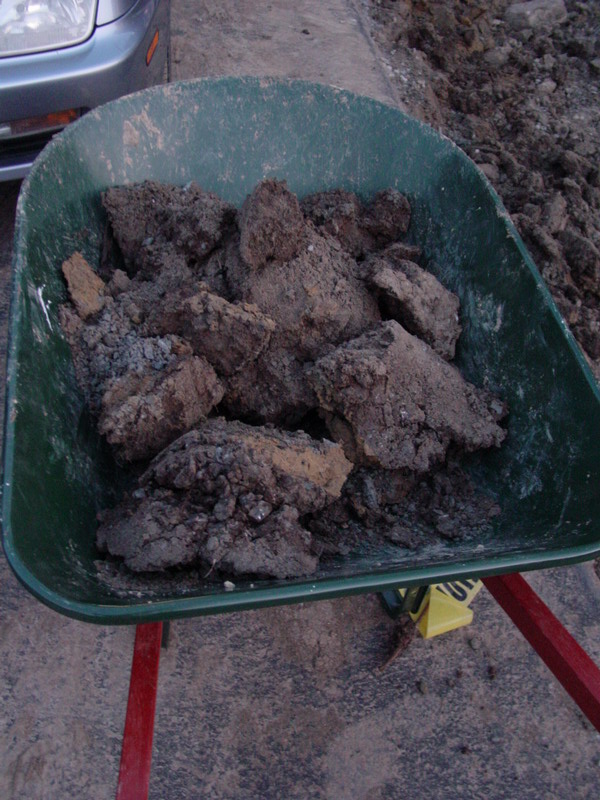
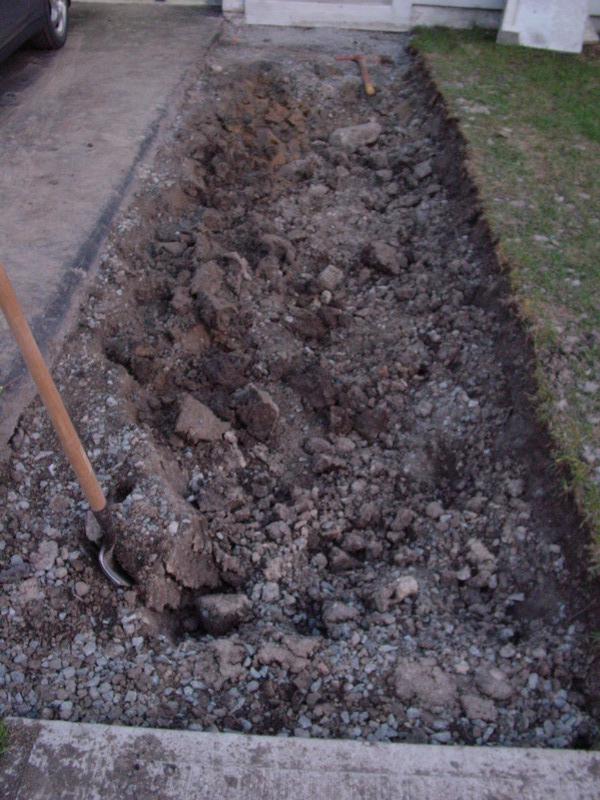
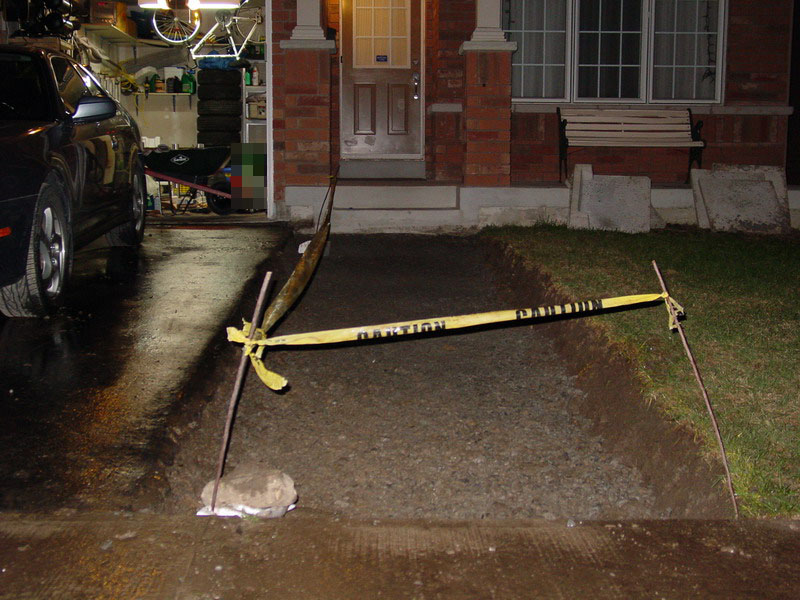
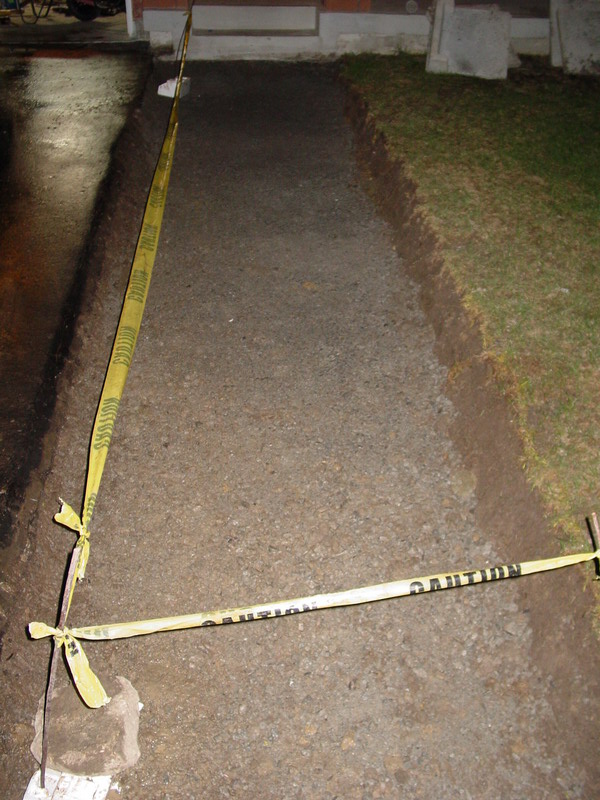
Day 2 and 3: Consulted with experts on the forum, they said 4 inch is certainly not enough. So, I keep digging by myself (ONE PERSON, with no extra help). Remember, I have a full time job and I started digging after work till 11:00 PM at night.
How much gravel mix and limestone/sand do I need?
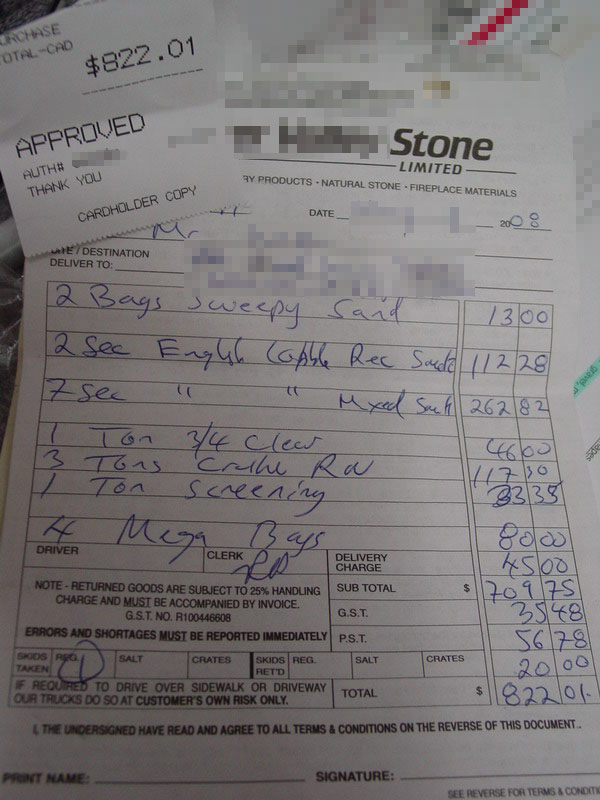
The stone company I bought stone from, they suggested 3 tons of crusher run and 1 ton of screening. (See my receipt in Photo below) – But then, I called them and reduced the order by half (It was a big mistake, read on). Also, I found a good material calculator on Internet which is helpful too: Rock Tumbling Supplies Material Calculator
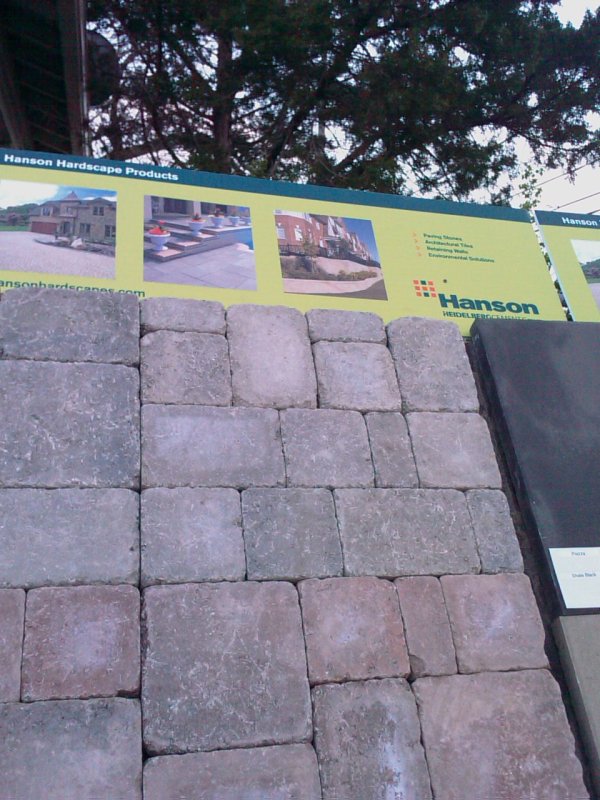
My Tips: For this project, I do not want to cut any stone at all because I am doing a rectangle. Therefore, at the time I chose the interlocking stones, I strategically looked for pattern that let me create various combination, so I could easily adjust the width and the length. I made sure it could fit 5′ in width without cutting and I could save $75 on renting the stone cutting saw.
Totally material is around $800 CAD (including some extra gravel for the little project for my side yard)
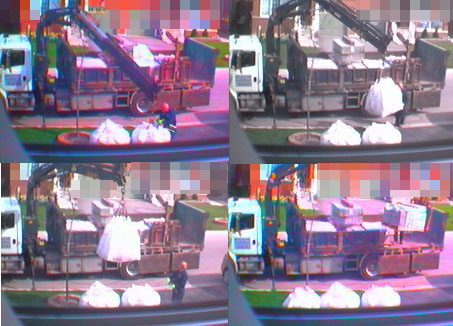
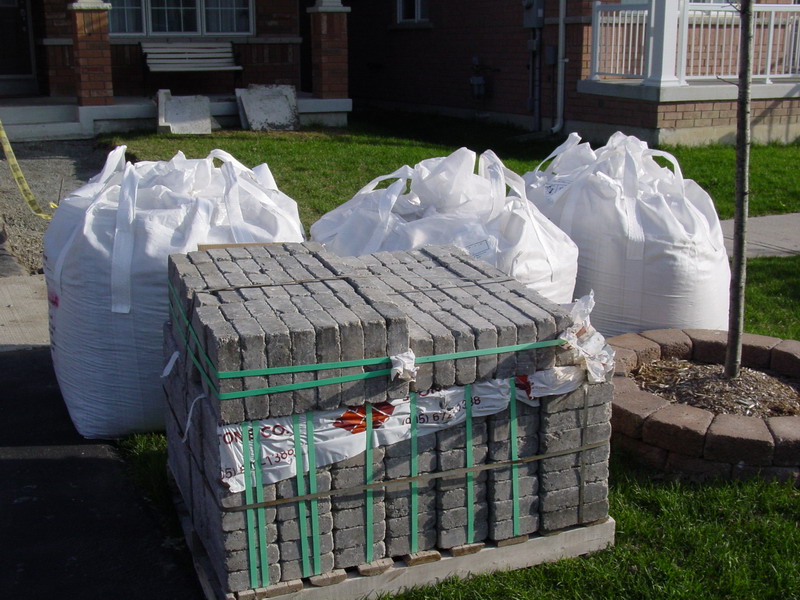
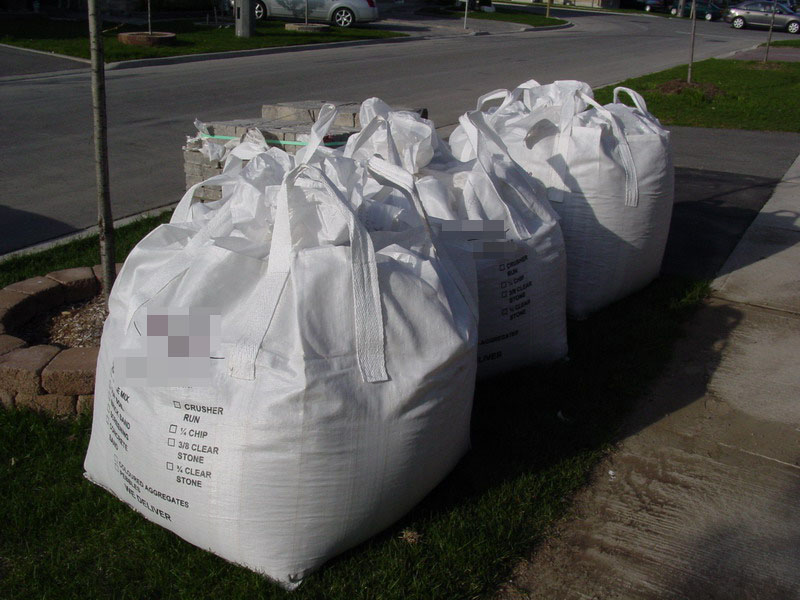
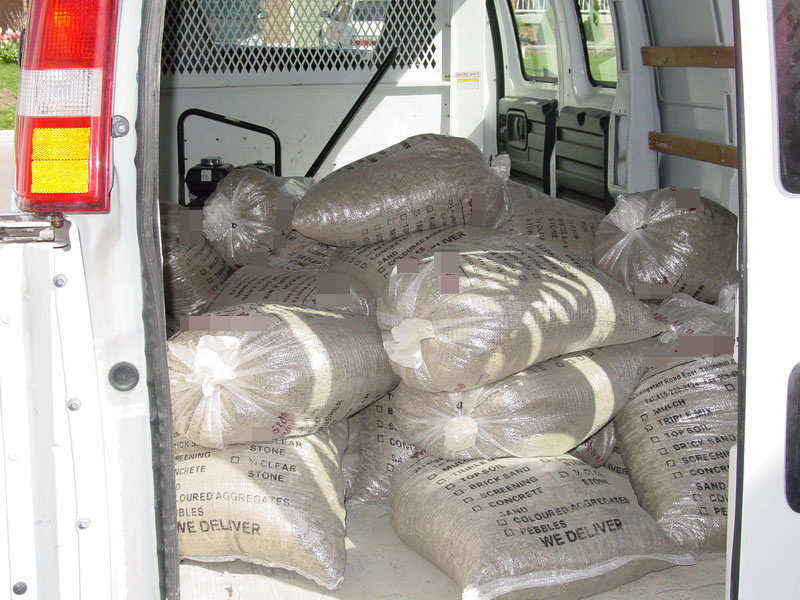
Day 4: Stone and material arrived! I was able to watch the delivery process when I was at work through my security cameras:
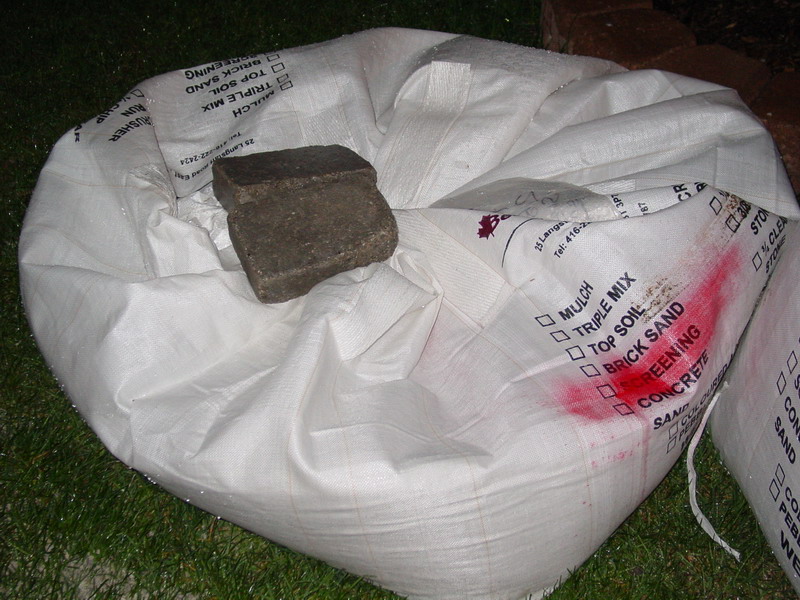
This stone company has an option to deliver the material using “Mega Bags”, it’s tidy and rain proof. Although it may be more expensive, but it is strongly recommended.
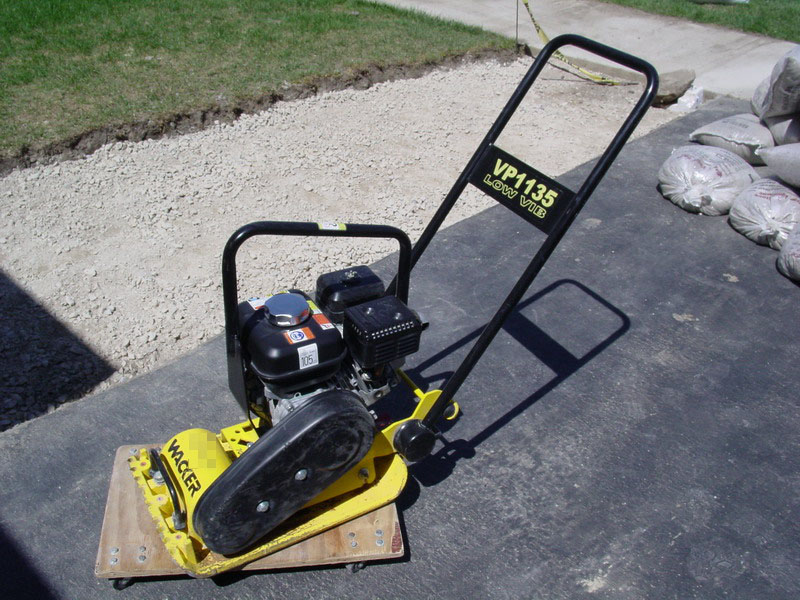
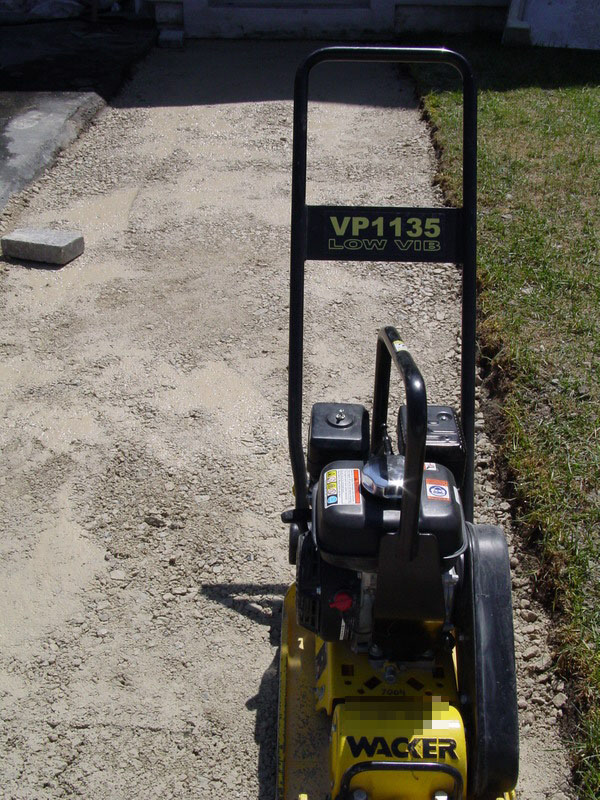
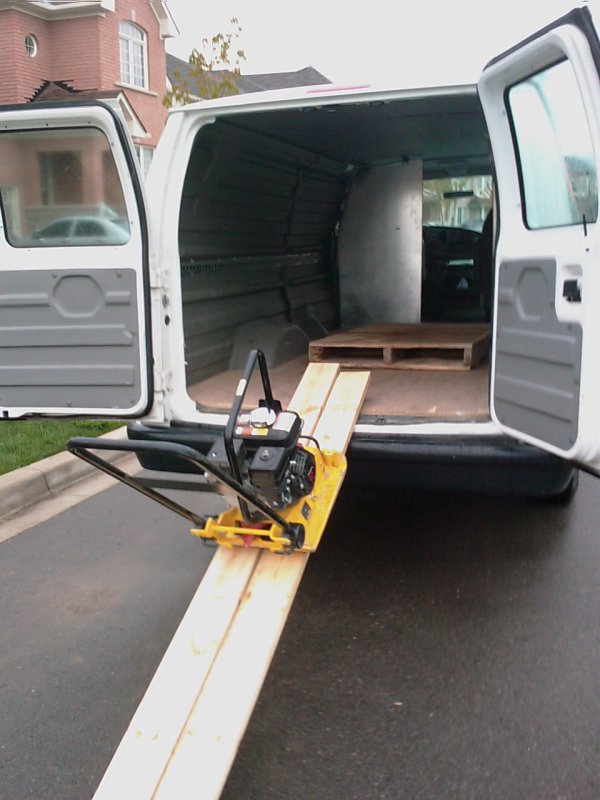
Day 5: I went to Home Depot to rent the Van and Compactor, and then one more trip to stone company to get more “Crusher Run” – My mistake of calling the stone company to reduce the order on Day 3, now I found that its not enough. Well, the Home Depot car rental is cheap $20 CAD for 1.5 hour, but it is very stressful as I have to get everything done in short period of time ($7 CAD for 15 minutes if you are late)
My Tips: Go to Home Depot as early as possible (at the time they open, like 6:00 AM) to rent the Van because there is ONLY 1 or 2 Van per store, it is NOT EASY to get it especially on the weekend. Also, if you don’t have anyone to help you to transport the HEAVY compactor, use 2×6 to make a ramp and drag it by yourself (see last photo below).
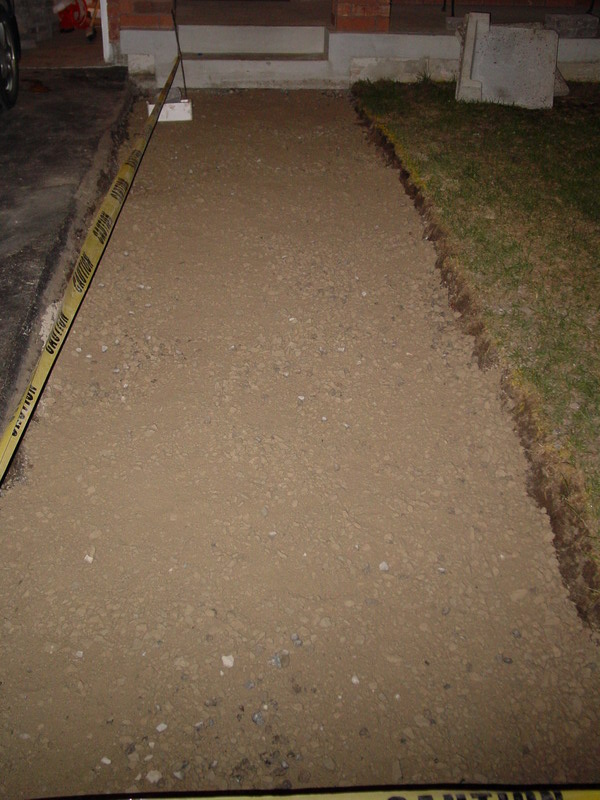
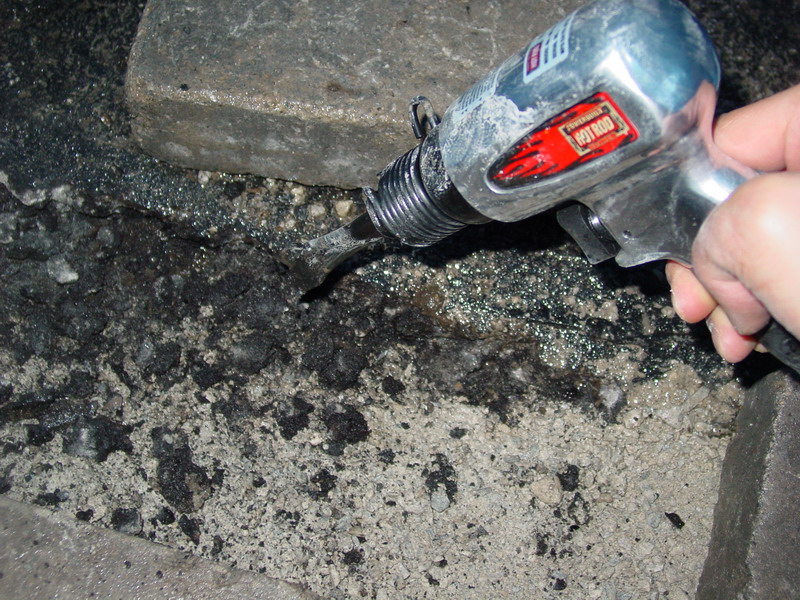
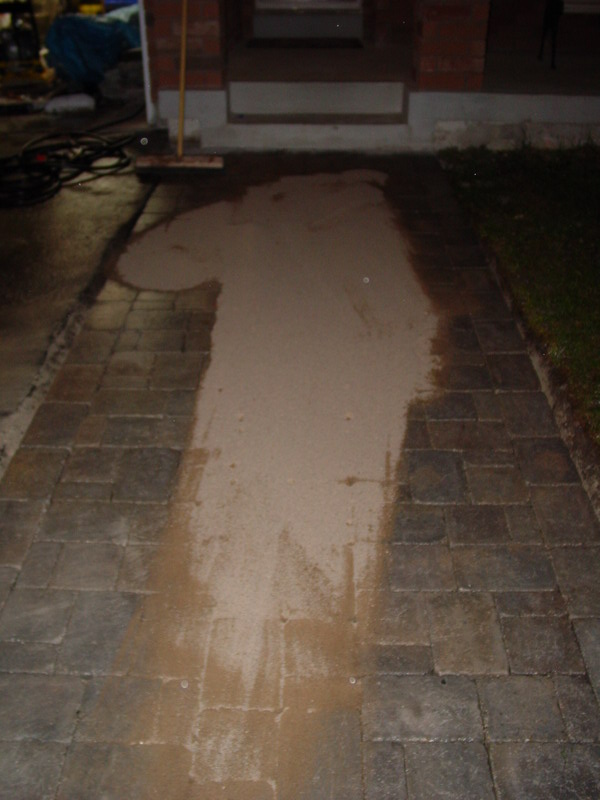
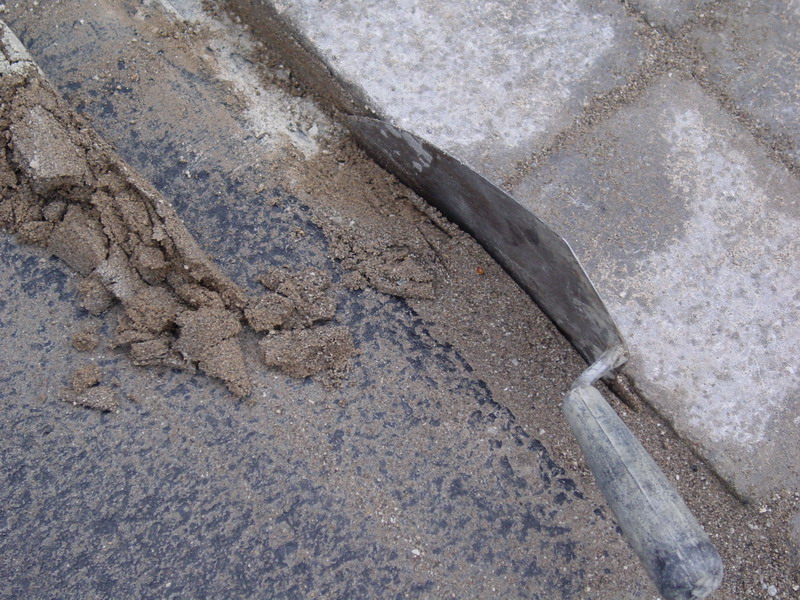
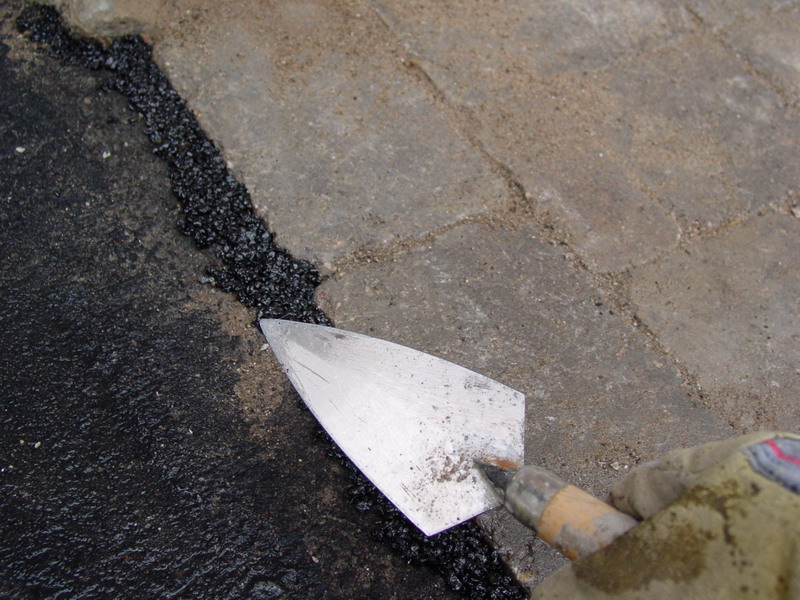
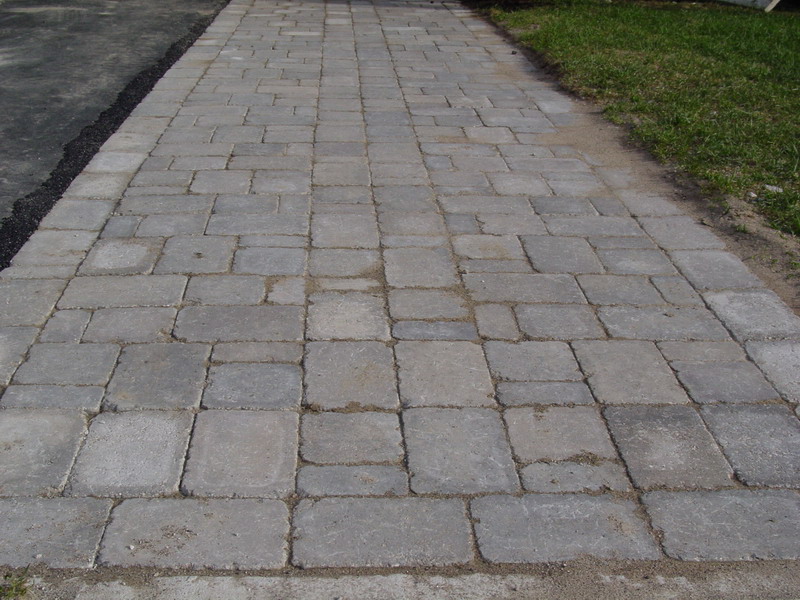
Day 6: One of the challenges is that I need to cut the edge of my asphalt driveway in order for the stones to fit perfectly. Luckily I have the Hot Rod 4.1 SCFM air compressor with air chisel, it cuts the asphalt like To-Fu. Finally, putting the jointing sand on top and ran it over using the compactor, and it is done!
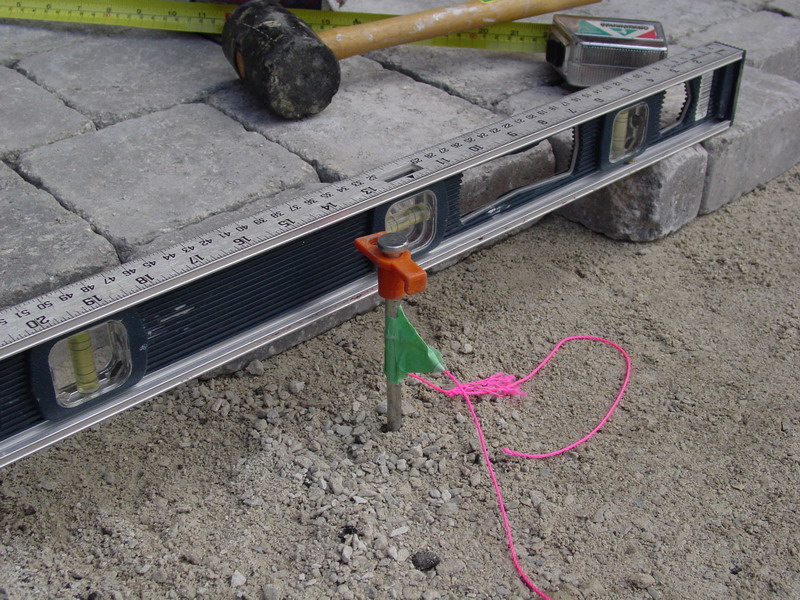
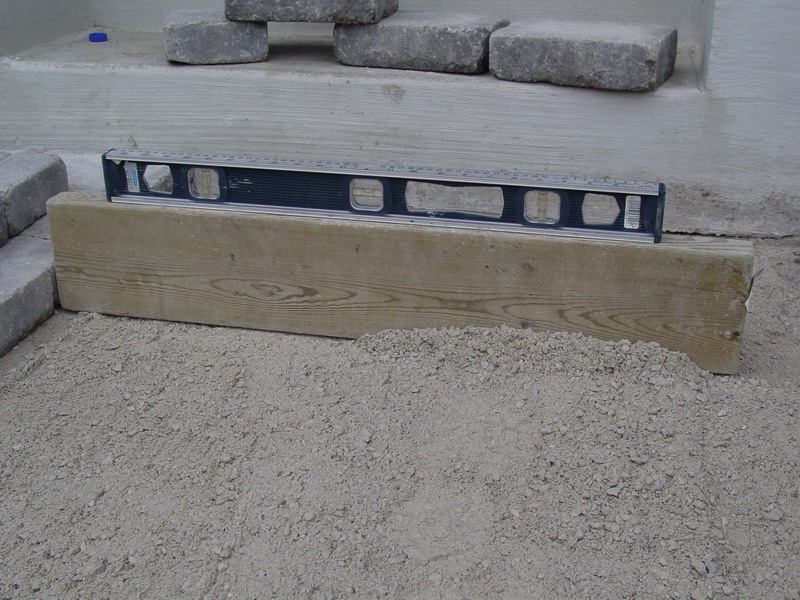
My Tips: I put the level on the 2×6 and sweep the screening to make sure it level. Well, professionals don’t do that because they have experience, and they use their eyes to level. This is for DIY reference only.
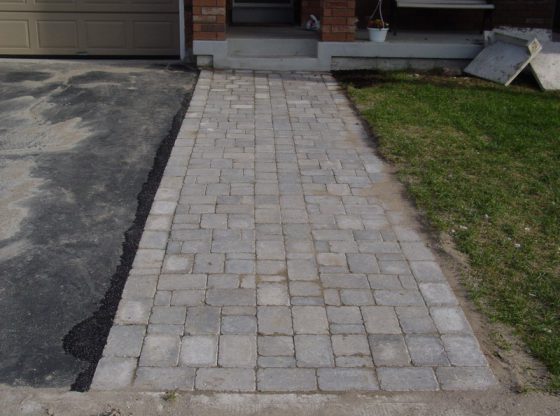
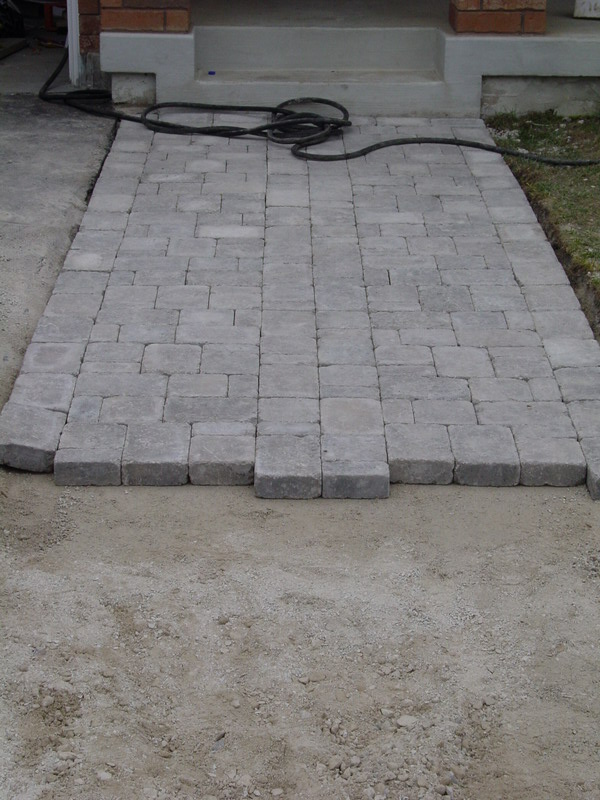
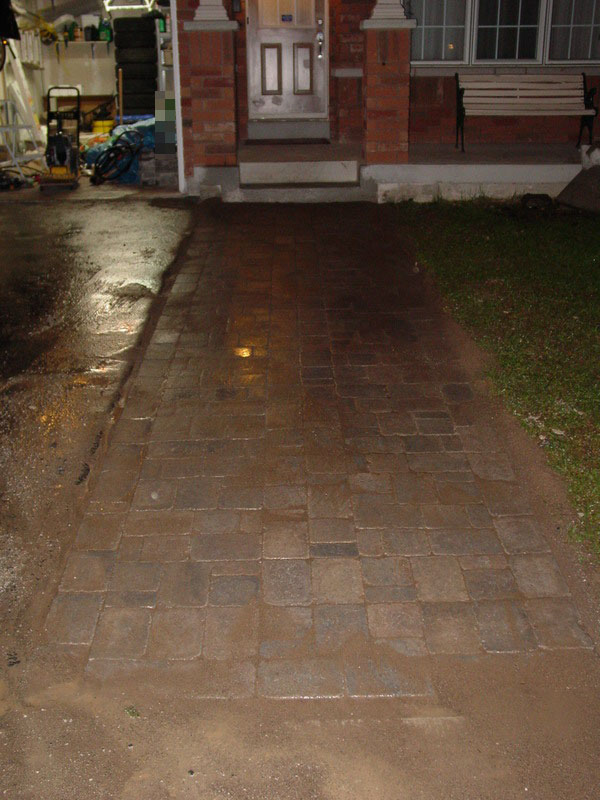
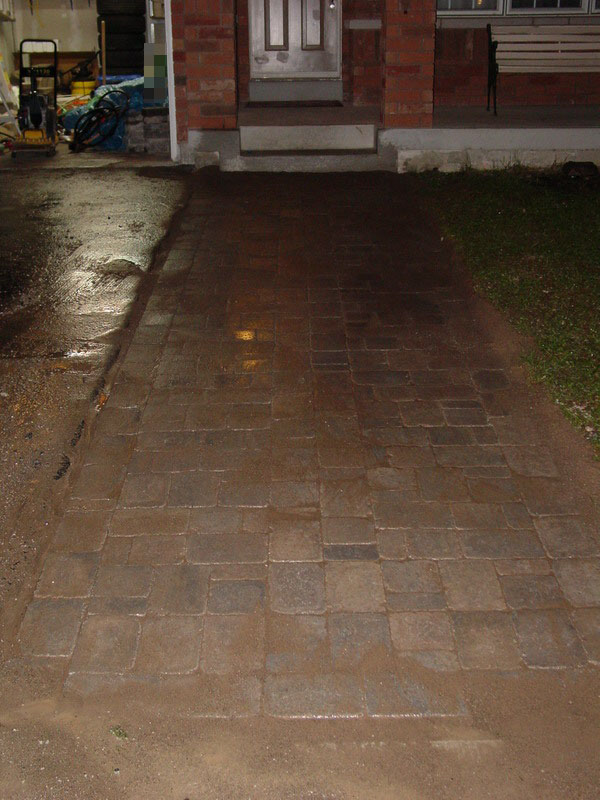
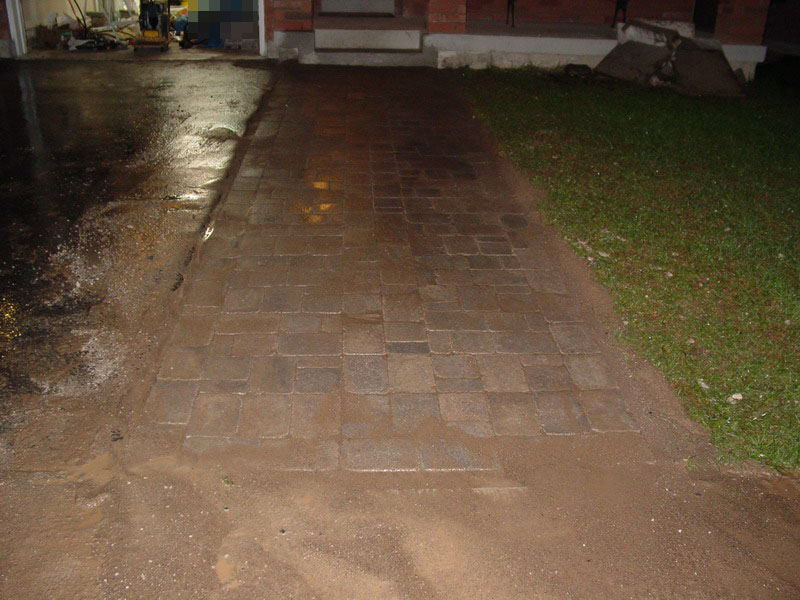
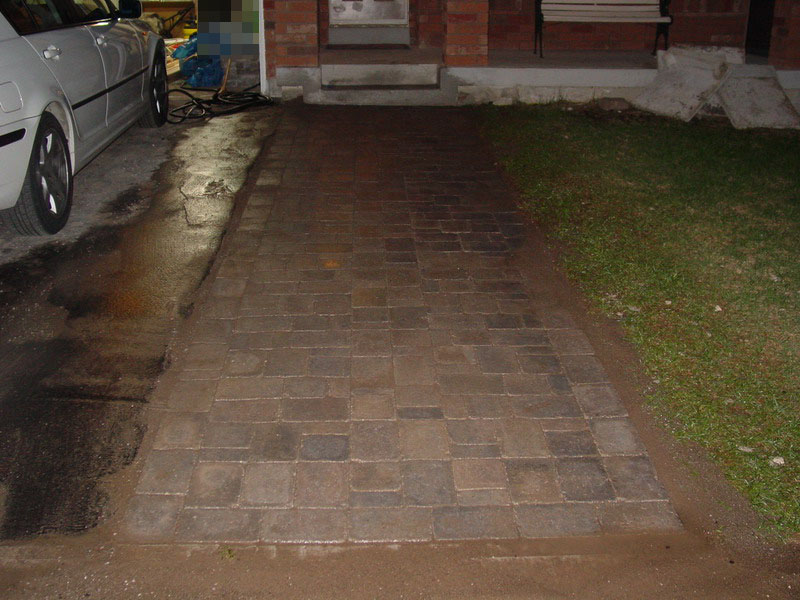
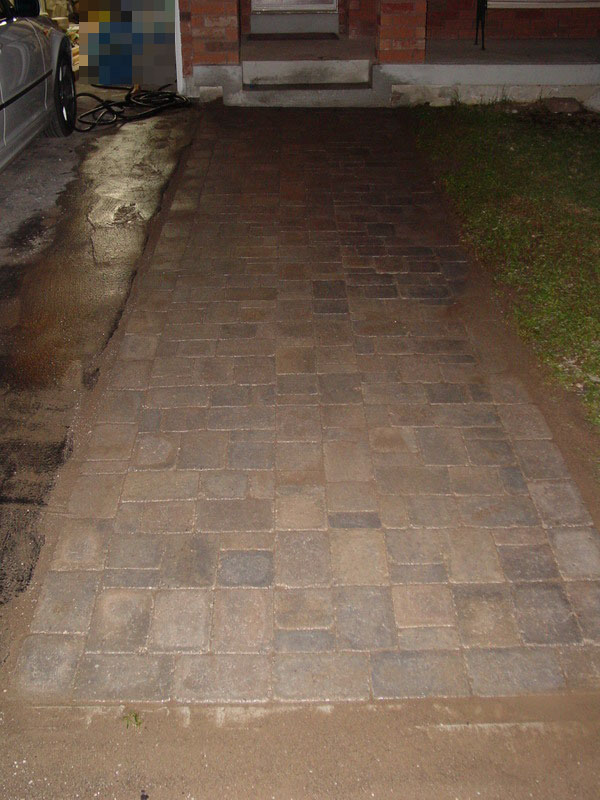
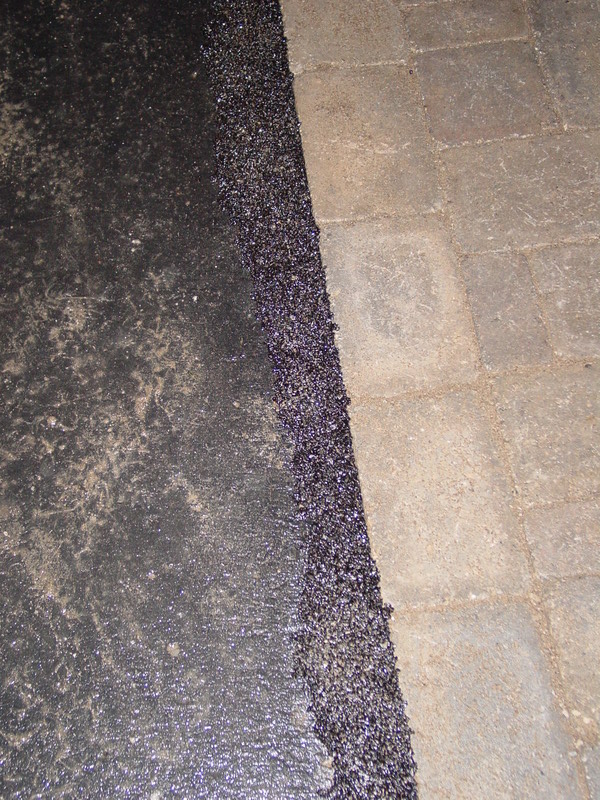
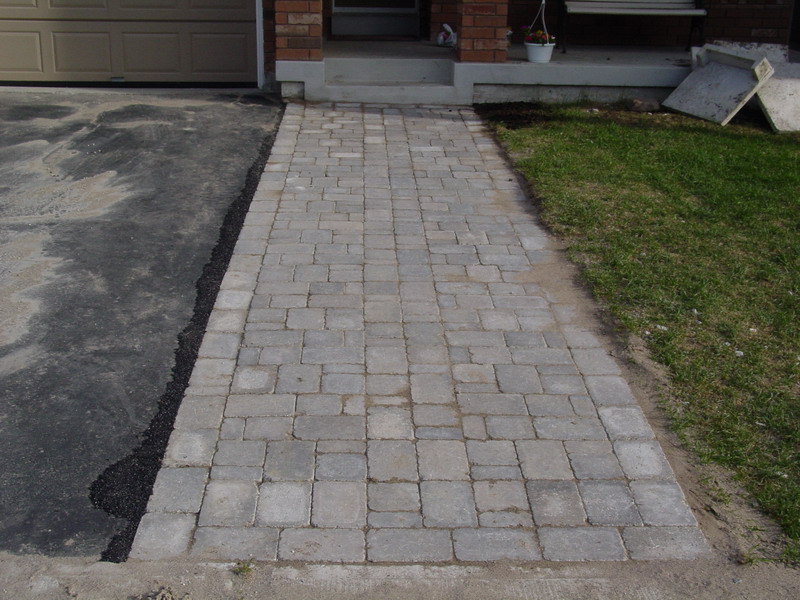
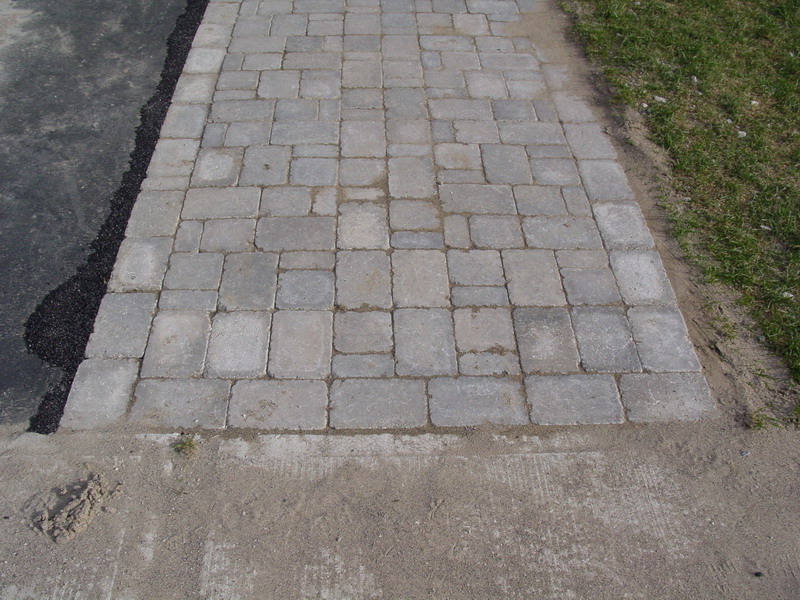
Day 7: I filled the asphalt driveway gap with pot-hole filler, by removing the extra jointing sand and then compressed the filler into the gap. As discussed above, I strategically bought this pattern and I did not need to cut any interlocking stones, and it fits perfectly to the concrete walkway on the bottom (see last few photos below). Finally sealed the asphalt with “airport grade” driveway sealer. I didn’t seal the interlocking stone yet because efflorescence (white color salt) will come out on the surface in the next several months.
How to dump the extra materials I ordered?
I put some in backyard, and gave some to my neighbors for free. After that, I still had 1/6 tons of limestone screening left when I was done with this project, well I took some to the basement in case I need to fix the interlock in the future. For the rest of them, I put them in to 200 small paper bags and dumped them to public garbage bins and/or office garbage bins – 4 bags per days on the way to work, and on the way back home. You will be surprised how effective this method is. Non-recyclable garbage goes to landfill anyways, it is environmentally okay. However, I am not sure if that’s totally legal. Check your stupid local bi-law.
Kudos to you for the determination and effort to do this all yourself. Well done.
I am a fan of your work and website! Keep it up. I can’t wait to fix up our house too.
Elaine
from Georgia, USA
Dude! This is super helpful. I’m planning on doing this exact same project.
Reenie, glad to hear that I am not alone DIY in this world. Back in 2008 when I blogged it, I said it would be my last time doing it. Indeed, I was wrong… years after, we moved to a new house and I did it again with more complicated design and pattern. I had to rent a concrete saw to cut the stone. Is that worth it? YES, I am proud of myself. Check it out here:
https://www.diyable.com/diy-front-yard-walkway-with-permacon-rosebel/
I even did it for my neighbor’s front yard too. Now I am DIY expert. LOL..
https://www.diyable.com/diy-neighbors-front-yard-project/
Lol, your pics are the exact steps we have done and are still doing.
We did the interlock from the front door to the end of the garage…now we will do the rest of the interlock up to the sidewalk this weekend, and then fill the driveway gap with cold asphalt. Just like you had to chisel away some of your driveway…we will have to as well.
Its DEF a big job to do….and its taken my boyfriend and I multiple weekends to do so far.
Will all that work be worth it for us? Yes — Gives us a sense of pride.
Great job – looks amazing!!!