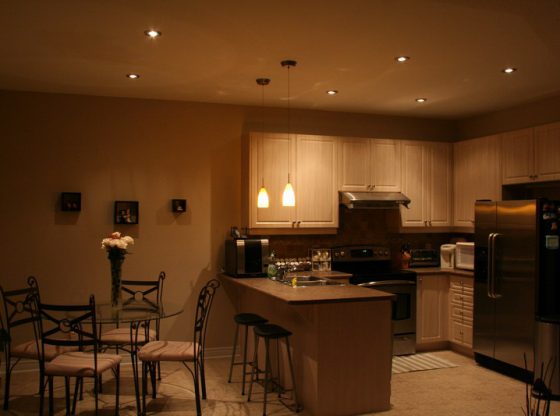
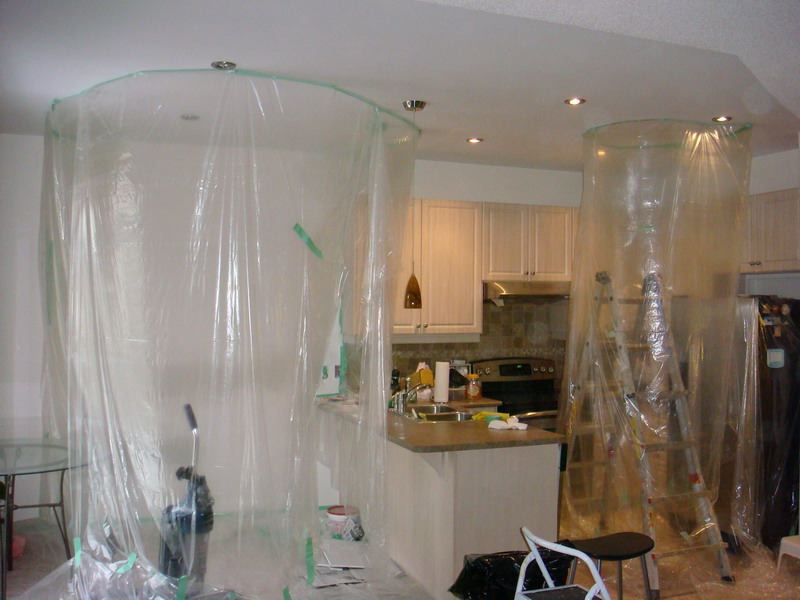
The plan is to get rid of the “ball” like fixtures installed by the builder, and replace with recessed lights in the kitchen and dining area, as I know that fire hazard is an issue (pot lights generate a lot of heat), so I have to do it carefully. So, we went to Home Depot and Rona for more information. These guys there were totally useless, as they couldn’t answered half of my questions. They were reading the instructions on the box and tried to make up some stories. Totally bullshit, the danger is that they can give the wrong advice to people. I went to do some research on my own instead.
Understanding pot light Installation (3 Cases)
(A) If you have a ceiling already + ceiling has insulation: you need an IC box (insulated ceiling box) to protect insulation from getting fire due to overheating. Usually this is 2nd floor.
(B) If you have a ceiling already + ceiling has no insulation: Just cut the hole, plug and play. Usually this is main floor.
(C) If it is a new construction, i.e. no ceiling yet. For example, unfinished basement. Then use the bracket, because you need to have something to hold the fixture before putting the ceiling up.
How do I know if my ceiling has insulation?
Generally if it is on first floor (kitchen, living room, dining room ceiling) usually there is no insulation. If that’s on the 2nd floor (bedroom ceiling), there must be insulation. Of course, the best way is to cut a hole on the drywall to check!
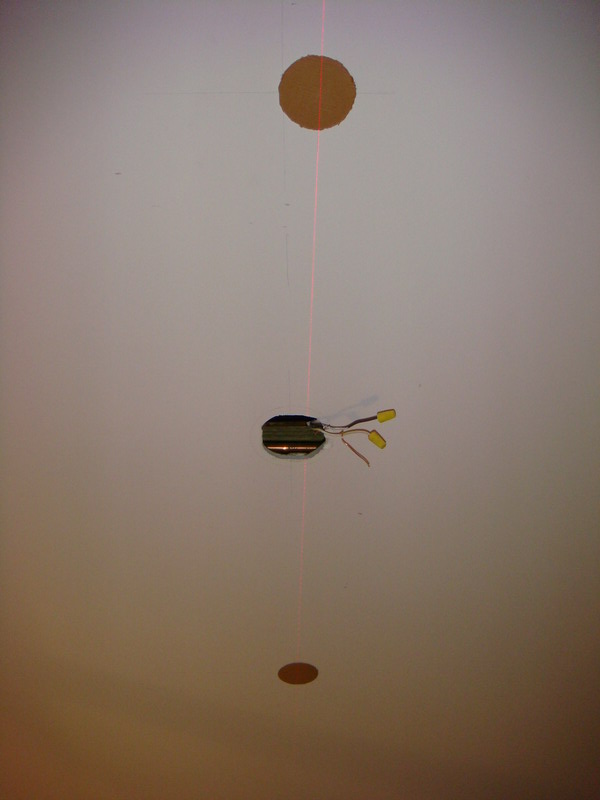
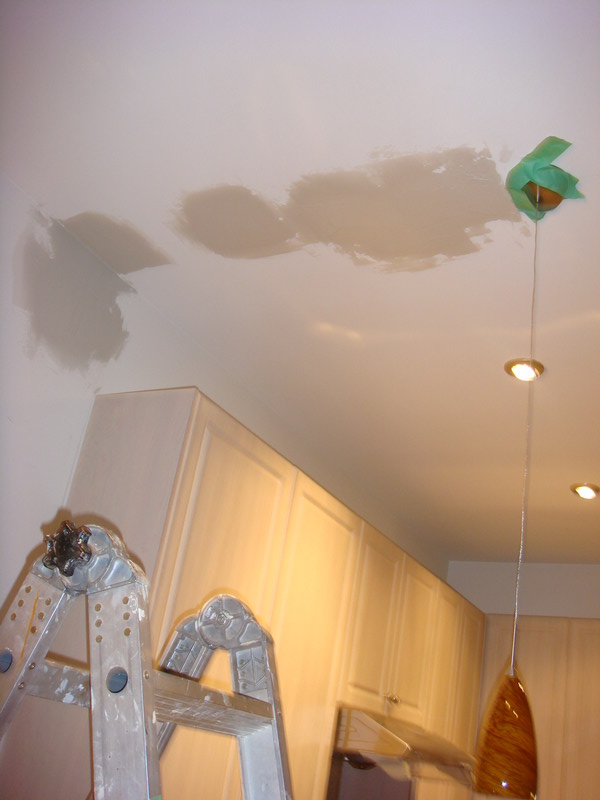
First, I used the stud finder to find out the layout of the floor joist, because this determined the lights position. Then, I measured the light position precisely first using traditional method, ruler/pencil and then used laser level tool to speed up the process. Using the template came with the fixture, I drew circles on the ceiling and cut it out using the dollar-store drywall saw. Believe it or not, it is a very good tool for $1. Why spent money on those “Recessed Light Hole Saws” adapter for your drill? Unless you are professional doing recessed light installation everyday.


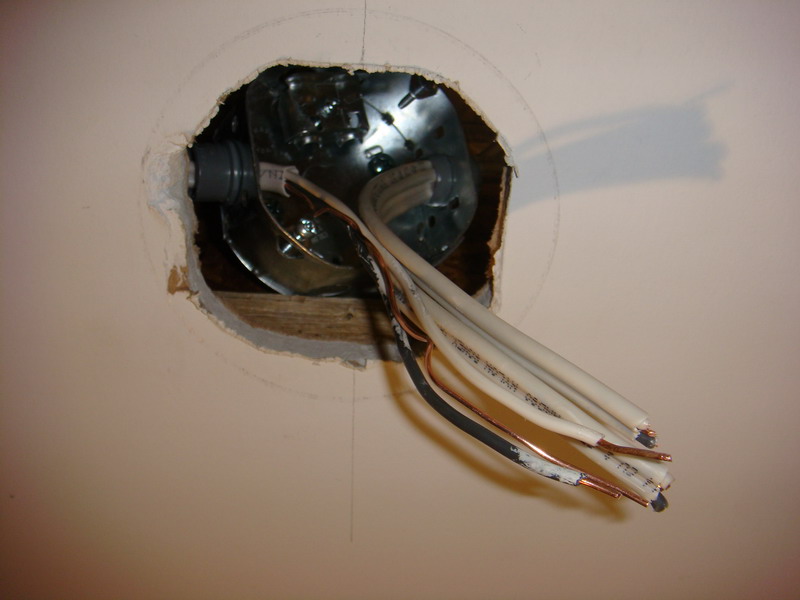
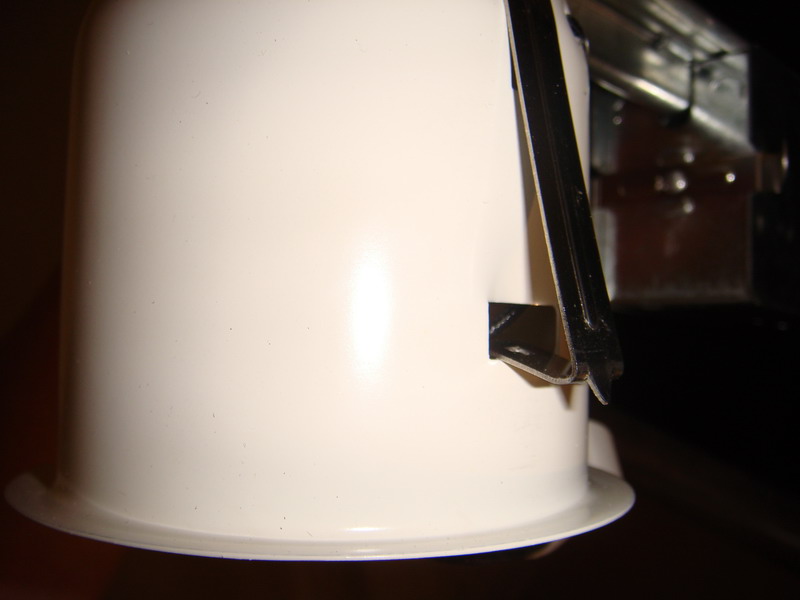
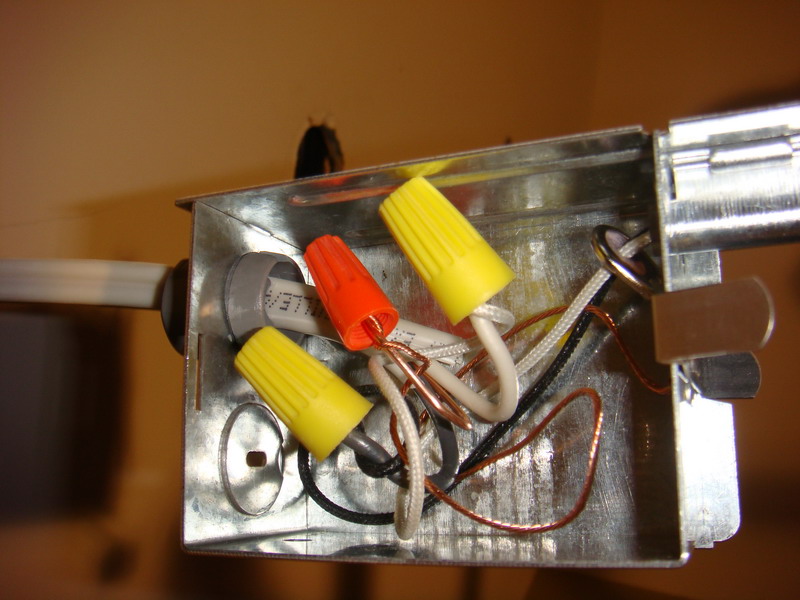

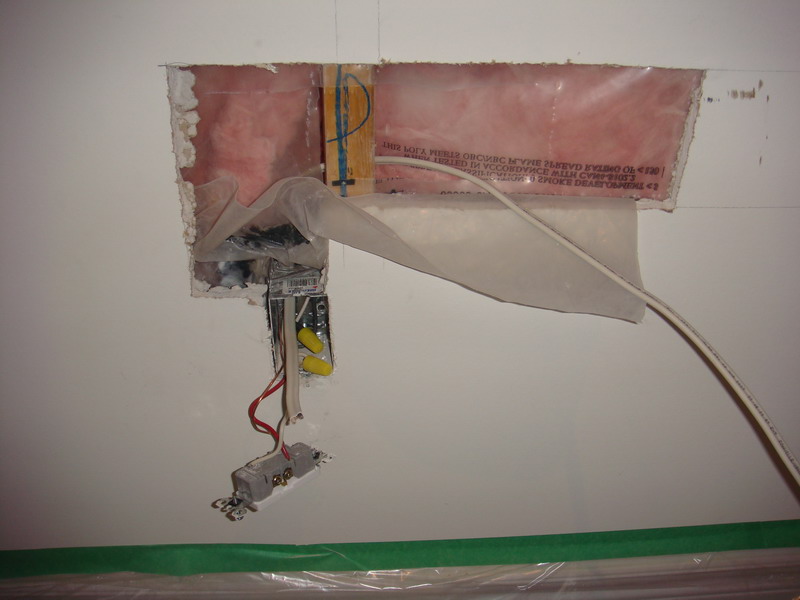

Builder’s electrician bad installation: Next, I brought down the existing “ball” like fixture. I opened the junction box and found something very interesting. Look at one of the photos, the Red wire was stripped and you can see the copper clearly. That’s pretty dangerous. This showed how good some of those Licensed Electricians cared about your house.
Careful not to violate the electrical code
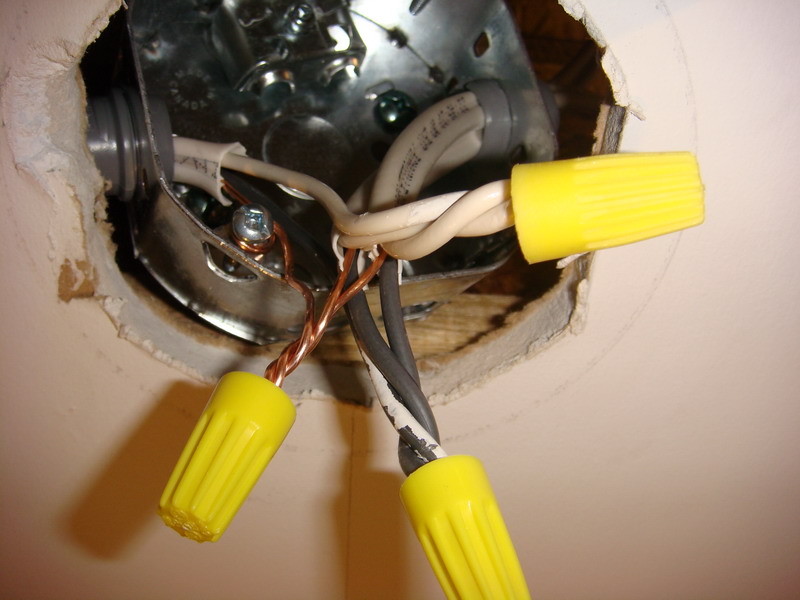
If you are using the existing wires from the ball fixture junction box, you need to leave the junction box where it was originally, make your connections in the box, then put a metal cover over the box in the ceiling keeping it accessible for future inspection and maintenance. The other alternative is to run a new wire from the panel all the way to the first new light, instead of using the existing ball fixture junction box.
4 more Pot lights – Challenge: Pot lights meet the Pipes
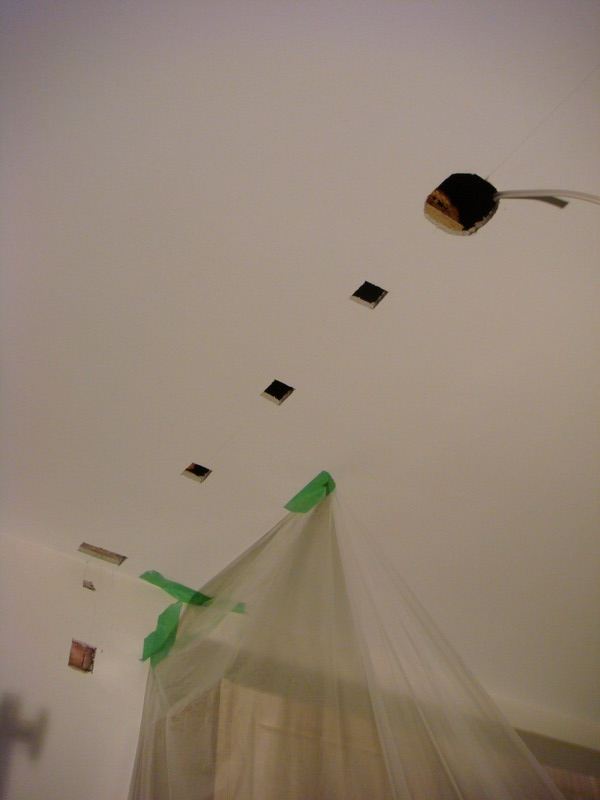
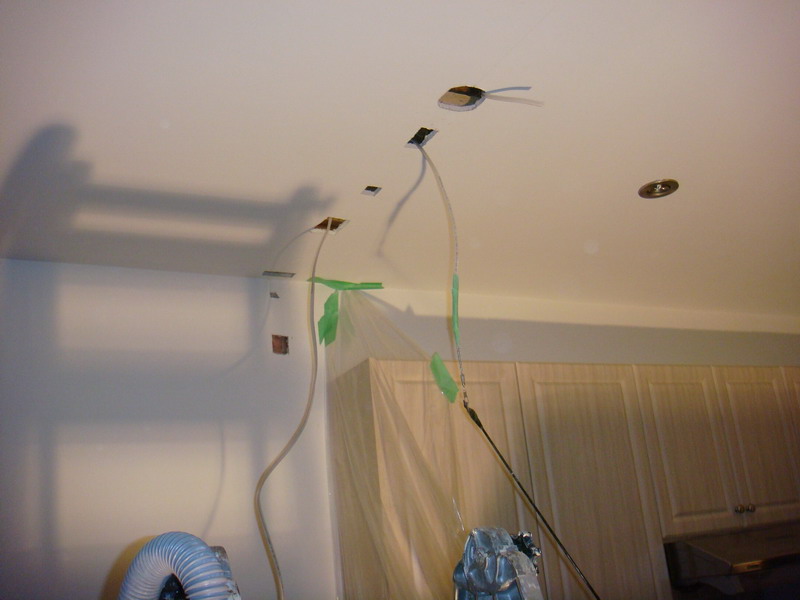
When I decided to do the pot lights in kitchen area, I didn’t know where the builder run the pipe on 2nd floor. So, the best way was to cut some holes and find out. Working on such project, you will expect to see PVC and copper pipe. So, DO NOT blindly drill without checking.
Again, as you can see the builder did a bad job on 2nd picture in my house: (1) the copper pipe is not straight, bad cutting/soldering. (2) Electrical cable is touching the copper pipe. Hmmm… I sticked my camera up the ceiling to take the picture.
How do I run wire from one floor joist to another?
If you have engineering floor joist like mine, it’s easy because there are pre-drilled holes. All you have to do is to use a screw driver to pop them open. Then run the wire. If you don’t have engineering floor, use long flexible drill bit. Please read on.
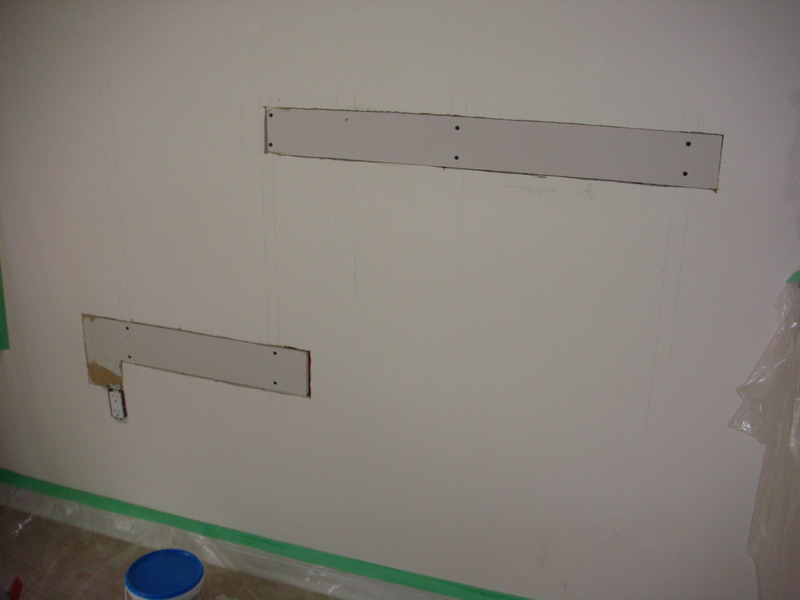
** NOTE ** As stated above, careful not to violate the electrical code unless you use a new wire all the way from the panel to the first light. If you are using existing ball fixture junction box, you need to put a metal plate cover.
Metal Reinforce or Fabric Reinforce? Next, I patched the ceiling using the metal reinforced patch. DO NOT use fabric reinforced, it is not strong and not flat enough especially for ceiling.
Dust Control Drywall Compound or Not? For $2 more, I would strongly recommended Dust Control one, because it saves you from cleaning up the rest of your house.
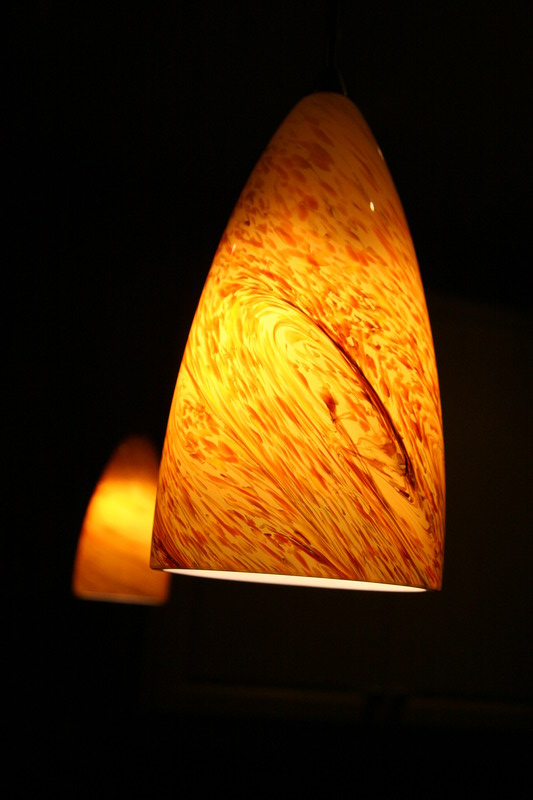
Installation of the 2 Pendant lights
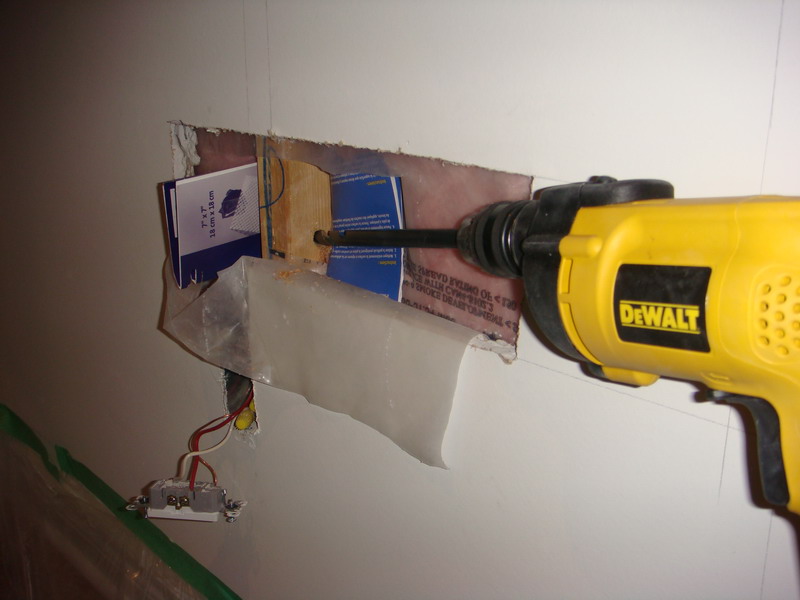
This part is the MOST difficult part, compared to pot light installation, because I need additional swtich and power source. As mentioned above, I had to open holes on the ceilling to make sure there was no pipe before drilling. I used the flexible long drill bit and steel fish tape to do the job. Then, located a good location for the power switch and ran the wire.
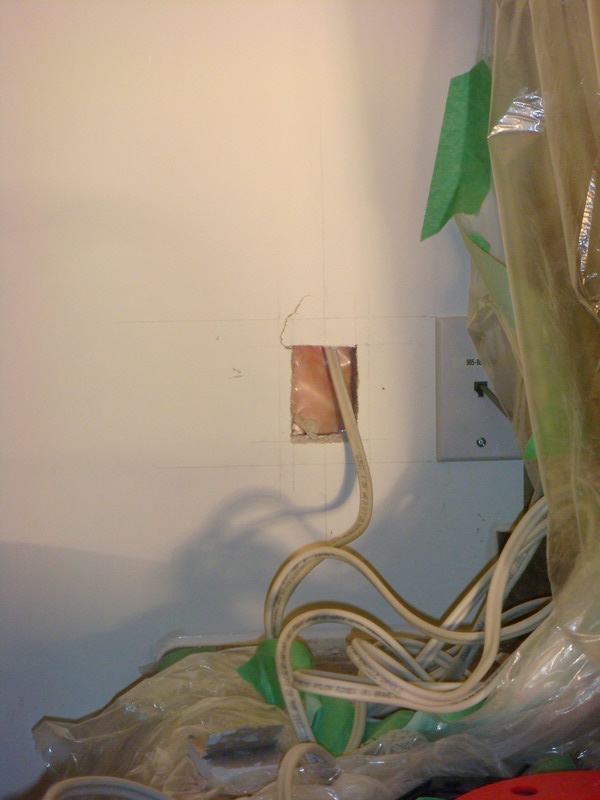
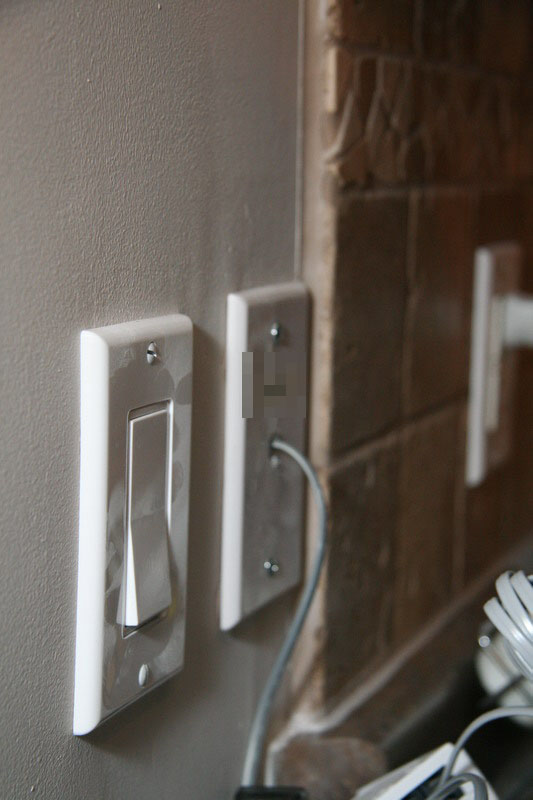
The wall switch and power source for Pendant lights
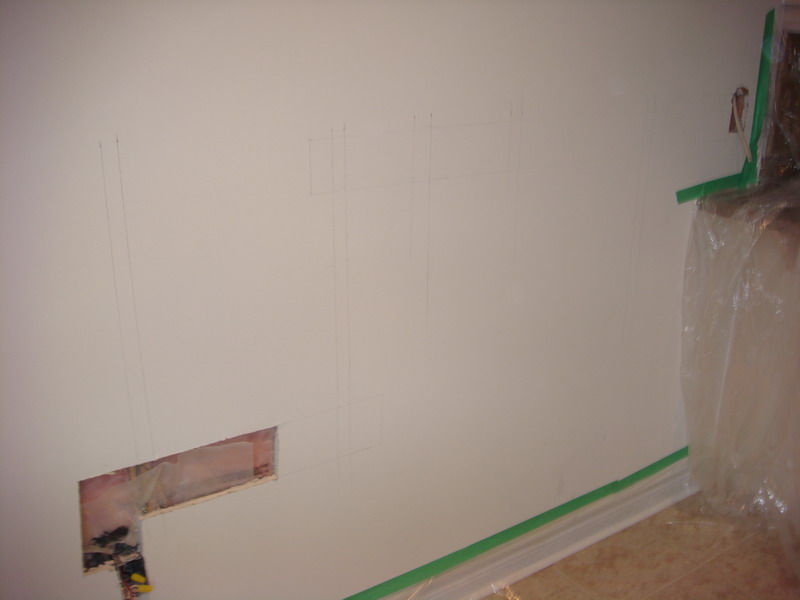
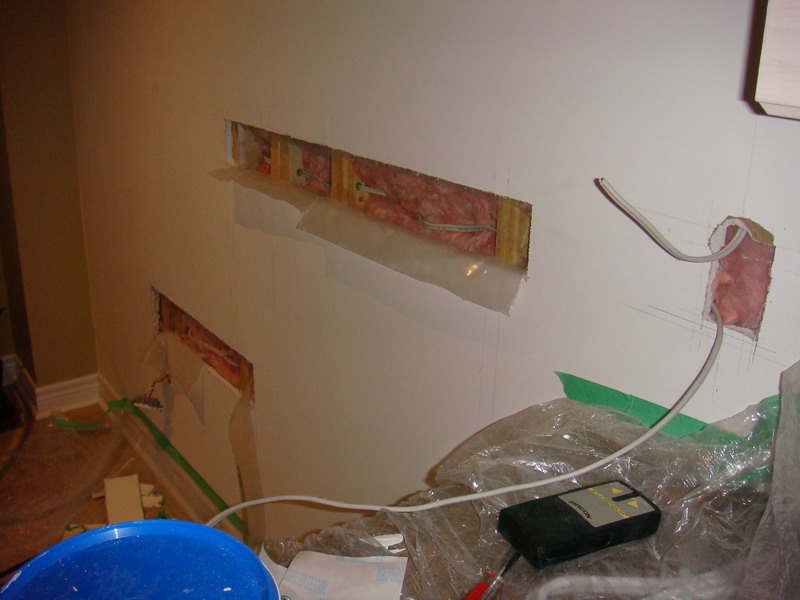
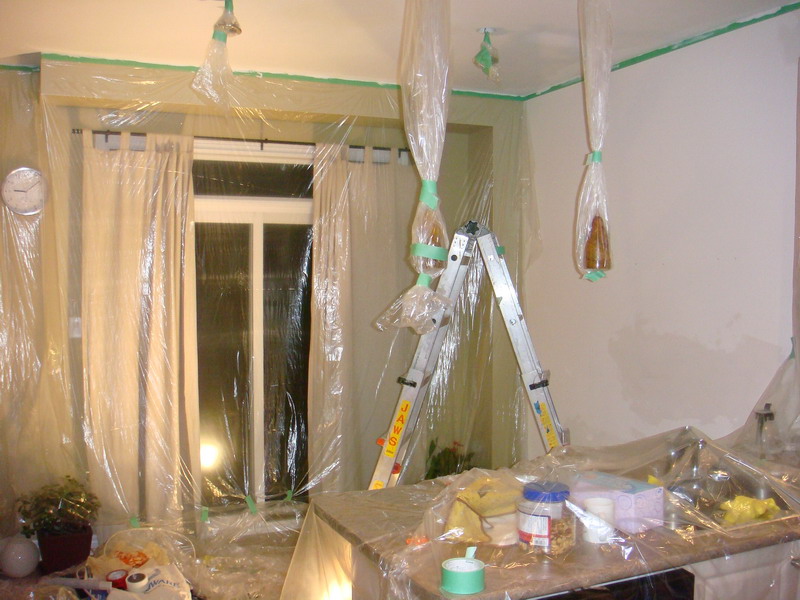
In order to have a seperated switch for the pendant lights, I decided to steal the power from one of the outlet. I had to rip apart some part of the drywall, ran the wire through the studs to the switch. I added additional pink insulation to hide the cable, then sealed the vapor barrier.
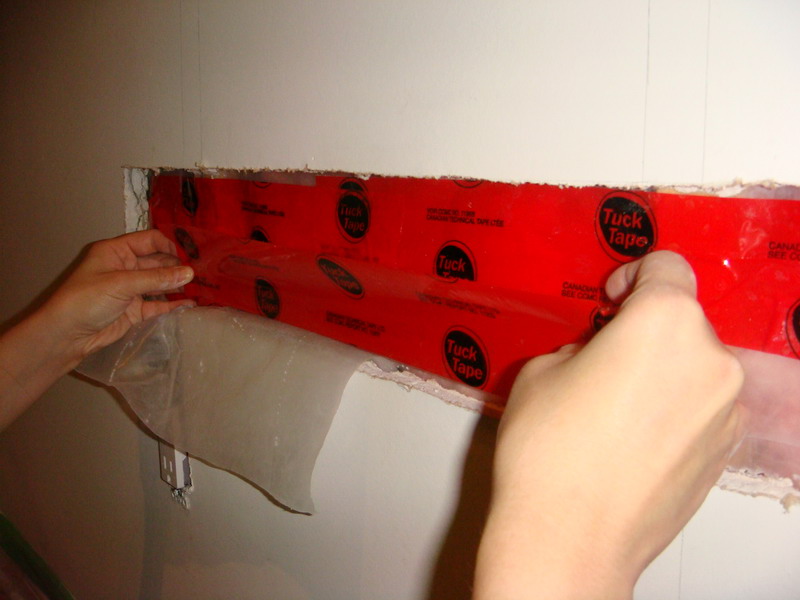
Tips: When wiring is done, ALWAYS remember to seal the vapor barrier. I used a product called “Tuck Tape” which is a permanent tape. DO NOT use regular “Duct Tape” (silver color) for ducting, it will peel off after several years. In the photo, my wife was helping me sealed the vapor barrier.
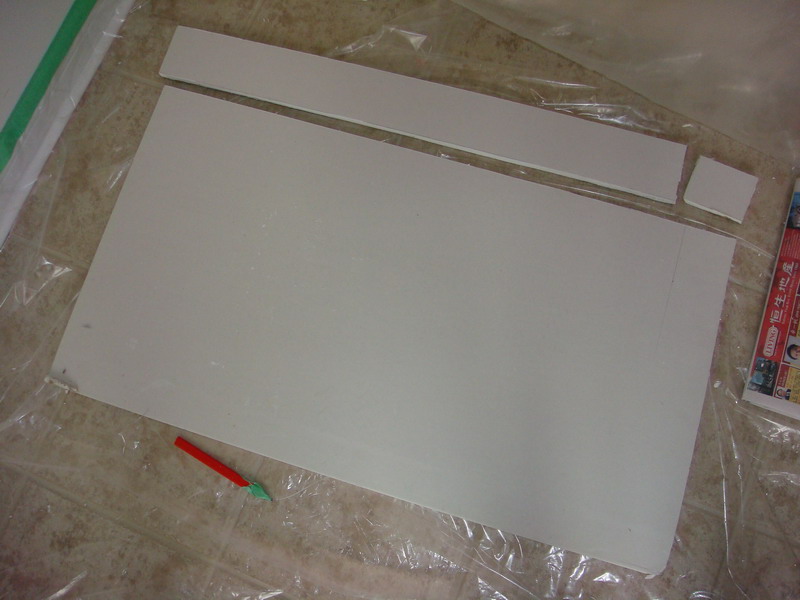
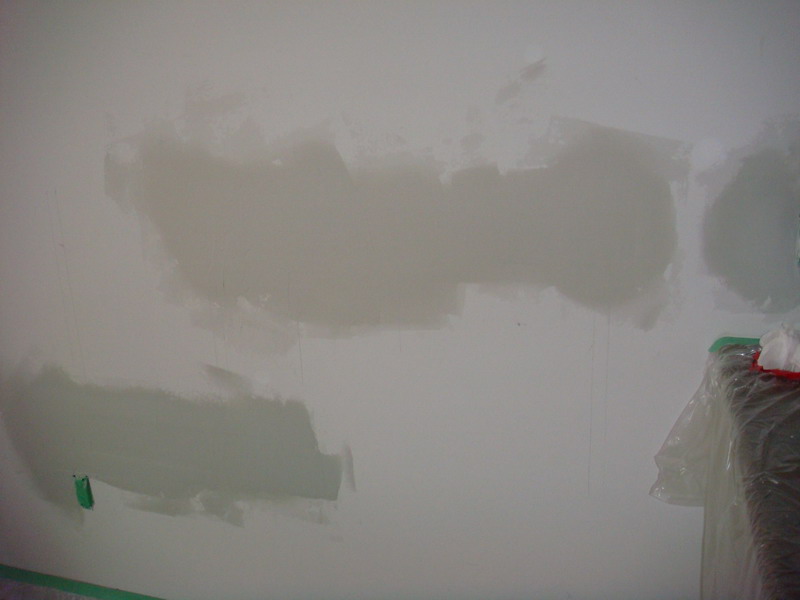
Next, cut some new drywall and patched the wall (mesh tape was used, NEVER use paper unless you are professional, see why in my other home improvement blogs). Since the area was too big, it would be very expensive to use those metal reinforced patch. Then, I sanded the ceiling/walls, and painted the ceiling with a special “pink”CIL ceiling paint (it will be in pink color and then dry to white color).
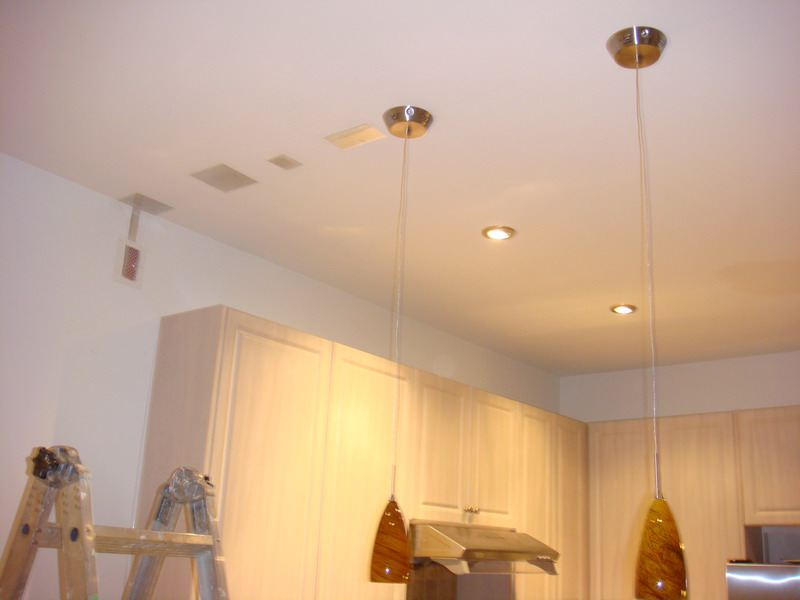
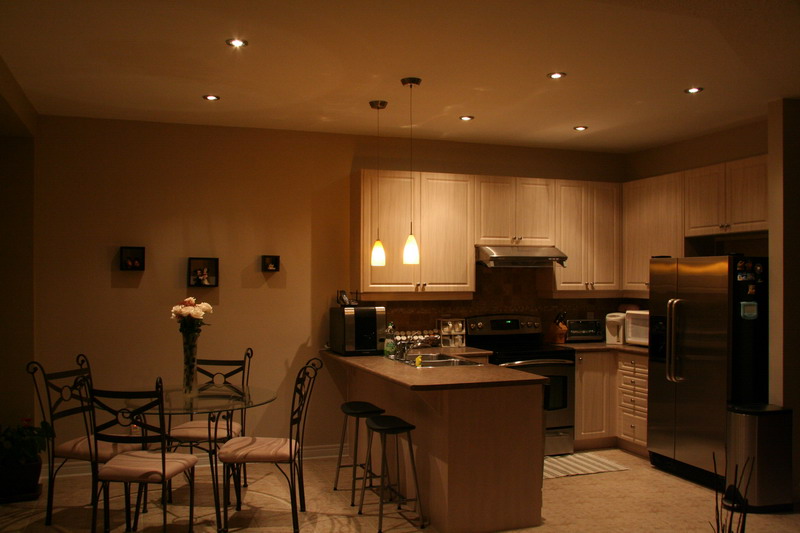
Project is Completed Finally!
Total project cost was around $600 CAD, including all lightings, hardware and paints. The total project time was about 1.5 week full time for 1 person, I took a week off to finish this project.
Self Reference on Paint Code: Kitchen accent wall, OC-16 Cedar Key (Benjamin moore) / Kitchen ceiling, 88150 Brilliant white (CIL) / Living Room walls, HC-81 Manchester Tan (not shown)
Do you need a Licensed Electrician?
If you are the house owner and you are doing it yourself, you can DIY. But you do need to get a permit before the work and then get ESA inspected after. This blog is just for your reference, do it at your own risk.
Great step-by-step description.
I am planning some new lighting in my kitchen and found your blog useful. Thanks.
I think its great having such elaborative DIY website to assist in making your homes lighting. After having the to go through these steps and attempting to install Potlight in my living room i ended up damaging a lot of drywalls. This may work for some, but I definitely do not recommend that everyone does this on their own. I ended up calling Mr.Potlight (www.mrpotlight.com) to repair my mistakes and complete the job. I saw that he did not even need to damage or make holes in any of the dry walls. This job is definitely for specialists and not your everyday handyman trying to save a couple bucks.
Best of luck to people that try this – my advice is to definitely under estimate the job!!
Mike C.
Milton
nice work considering the level needed for that skill…
well, that’s a good way to put it. thanks for putting up this insight, serves well in clientele information resource option.