Edited: Not to be confused with the new posts, this DIY project was done in our old house many years ago back in 2007.
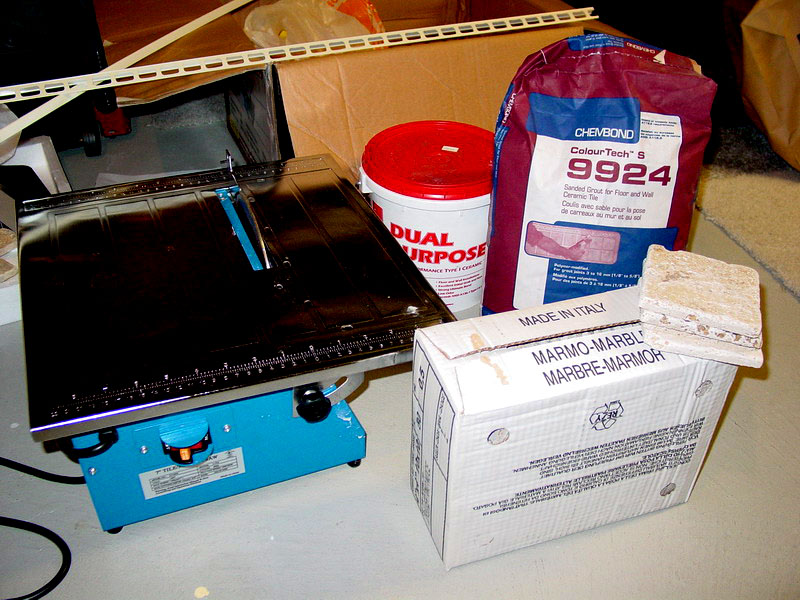
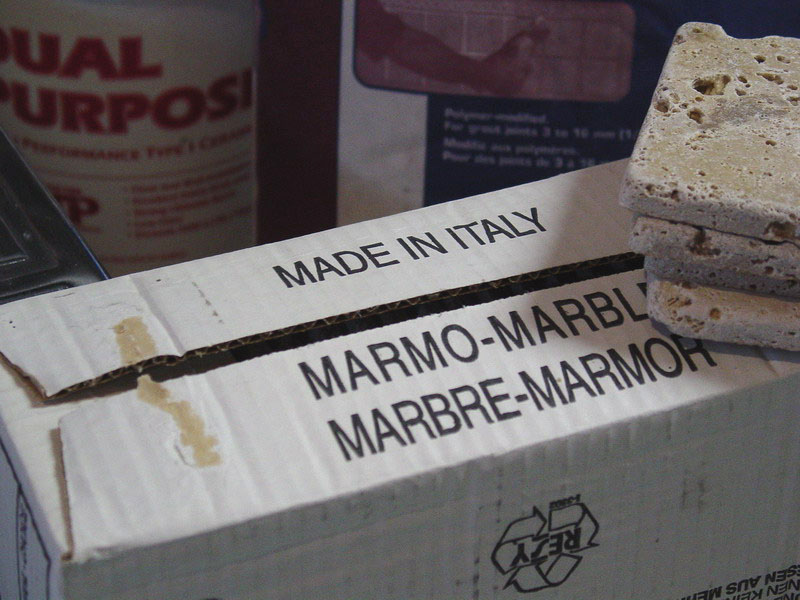
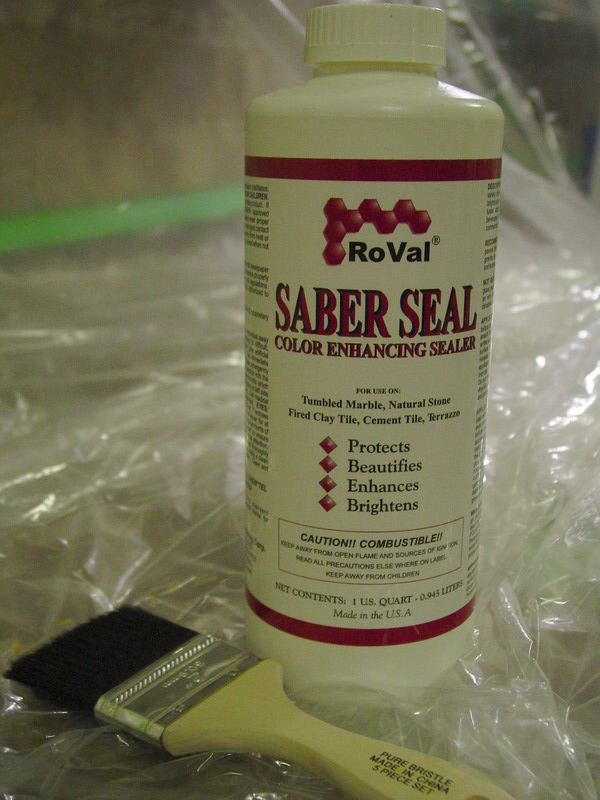
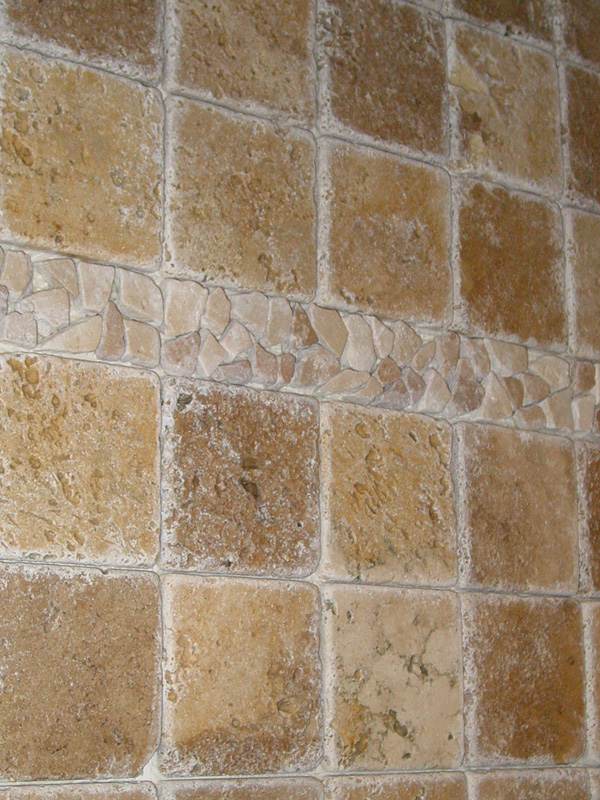
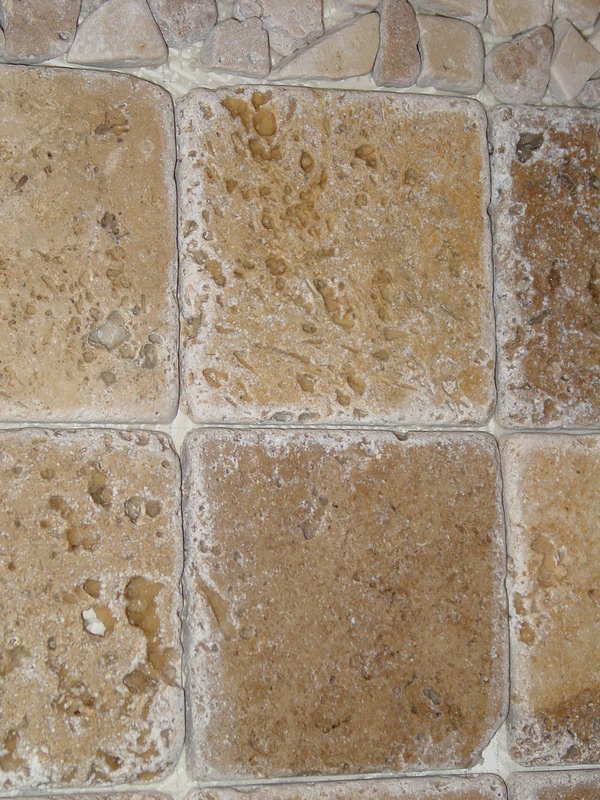
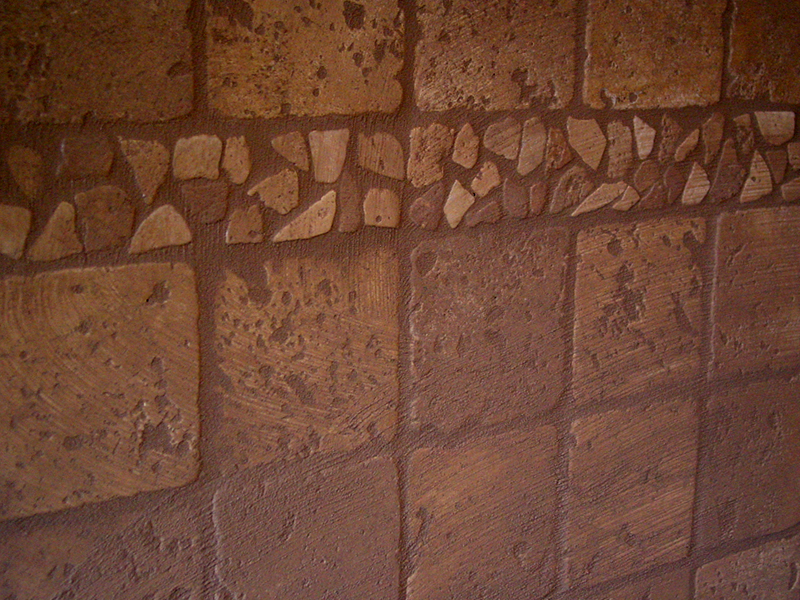
My wife and I like to have backsplash in our kitchen, so we went to shop for our stones, we bought the Italian made tumbled marble, sealer, diamond blade wet saw, grout and glue. You can probably find some very similar looking stones in Home Depot for $2 cheaper (sq.ft), but you pay for what you get, they are made in Turkey with slightly different color and texture.


Stage 1:
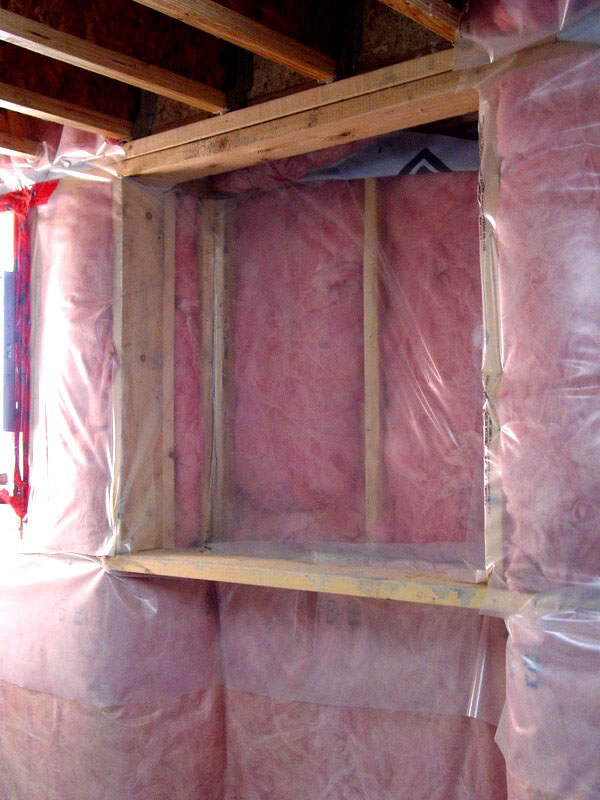
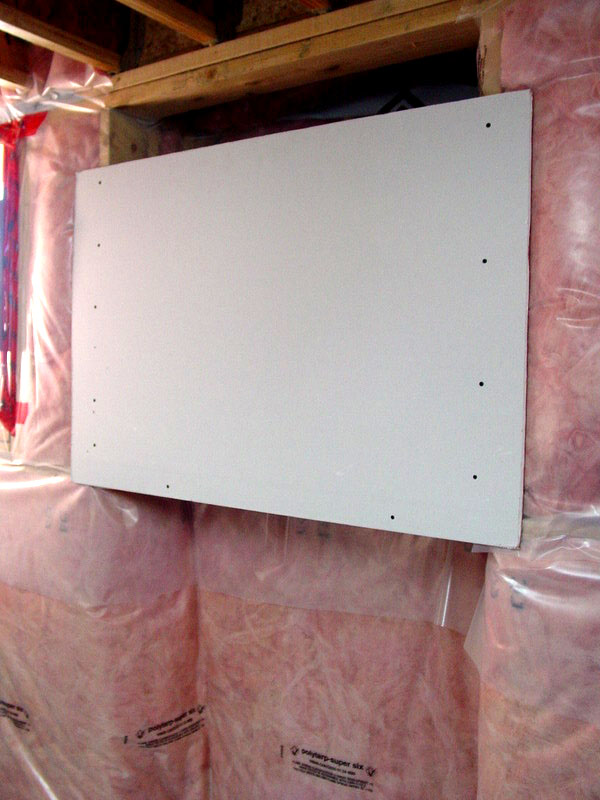
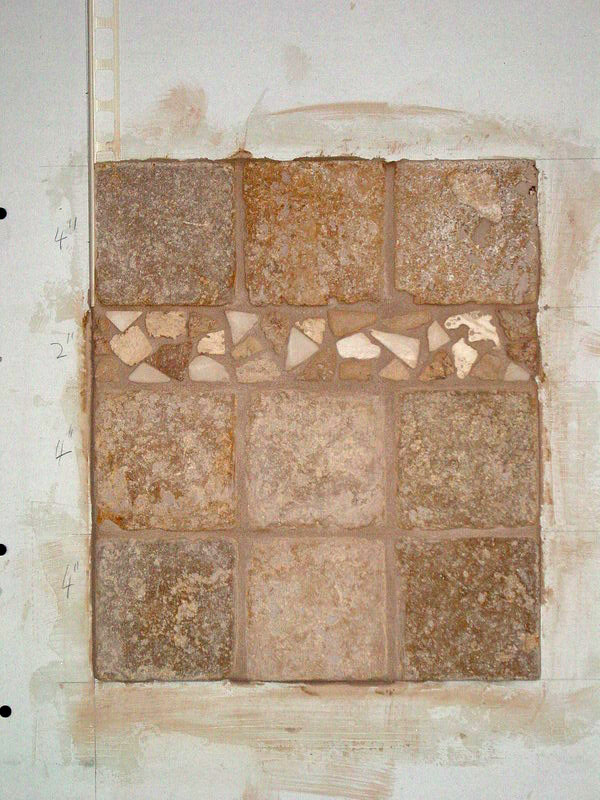
Trial run in the basement: I put a dry wall in the basement and started a trial run. The guy at the tile store told us not to use any spacer for these kind of marble, so I left a very tiny space between them. Although they call this “4×4” tile, in fact, it is smaller than that so the extra space is just perfect for the grout. It took 24 hours to dry and the trial went very well! Tips: Always put a thin layer of the glue on the back stone for stronger bonding.
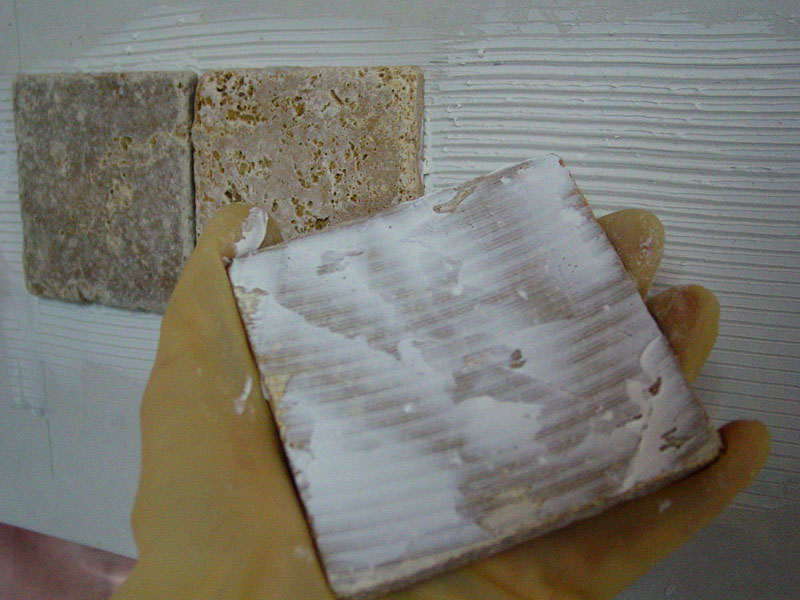
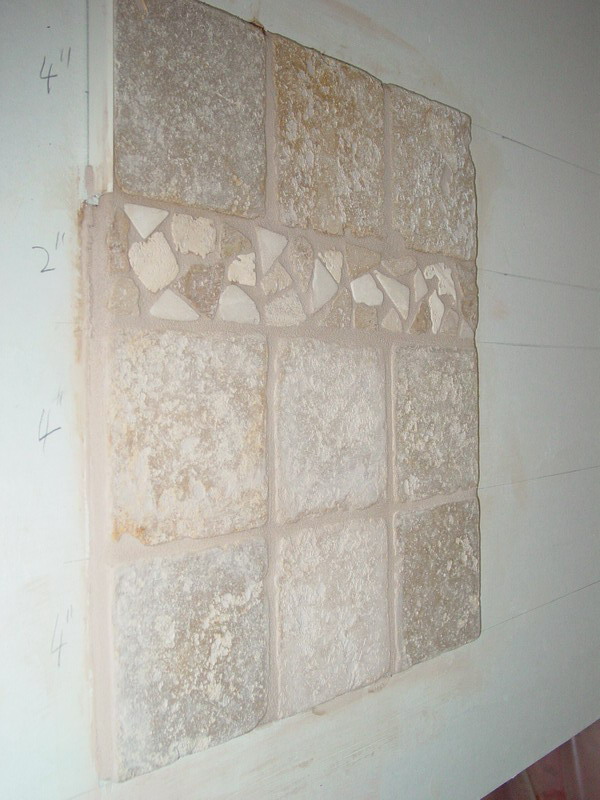
MISTAKE: On the first trial run, I tried to apply the sealer/enhancer after grouting. However when I read the label on the bottle, it said the same thing as the tile store said: I have to seal the tumbled marble BEFORE grouting! And then after grouting, re-apply the sealer again. I did a 2nd trial using the right procedure, indeed it looked better and it was way easier to wipe the grout off using the sponge, but I didn’t take any photos. Why is this necessary? I did some research on the Internet, here is the summary:
1. Certain marbles (including tumbled marble) may be discolored by grout. These marbles should be sealed or treated with grout release prior to grouting.
2. To prevent grout from penetrating into the marbles. To avoid staining. Stone enhancers bring out the natural color of the stone and make it darker.
Stage 2:
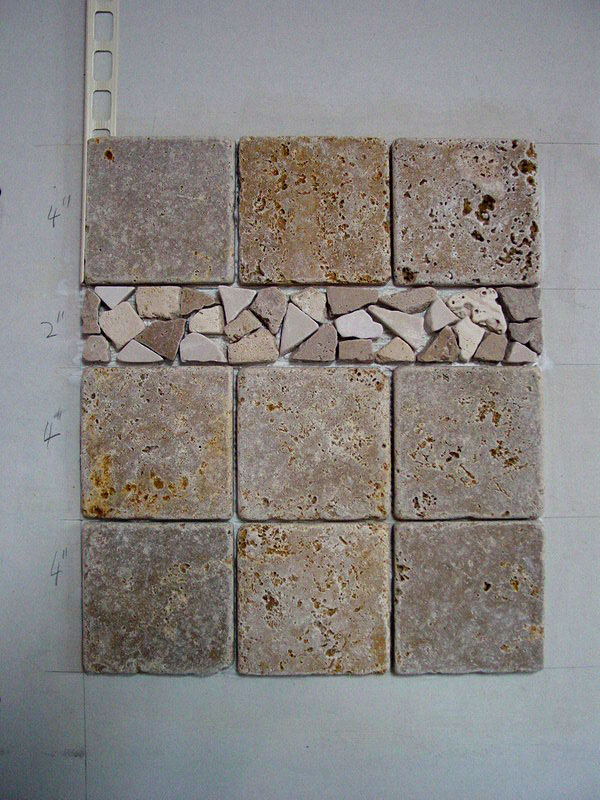
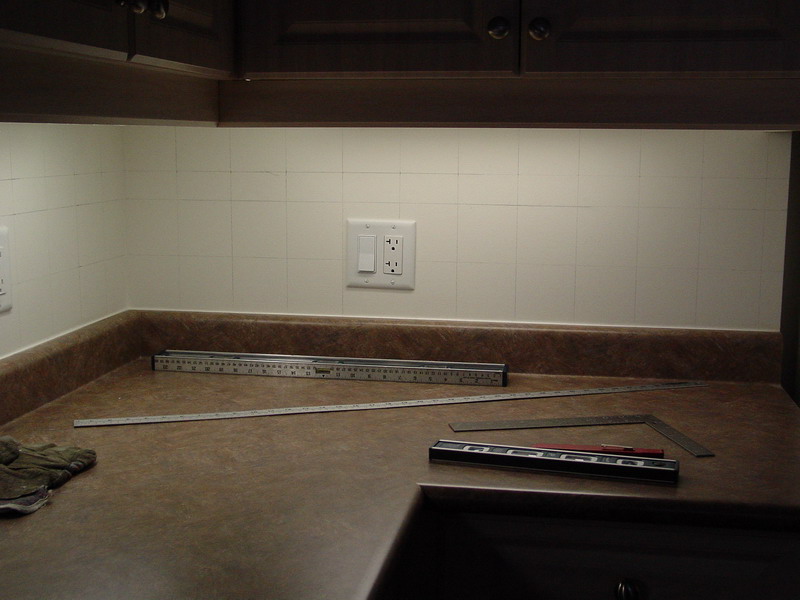
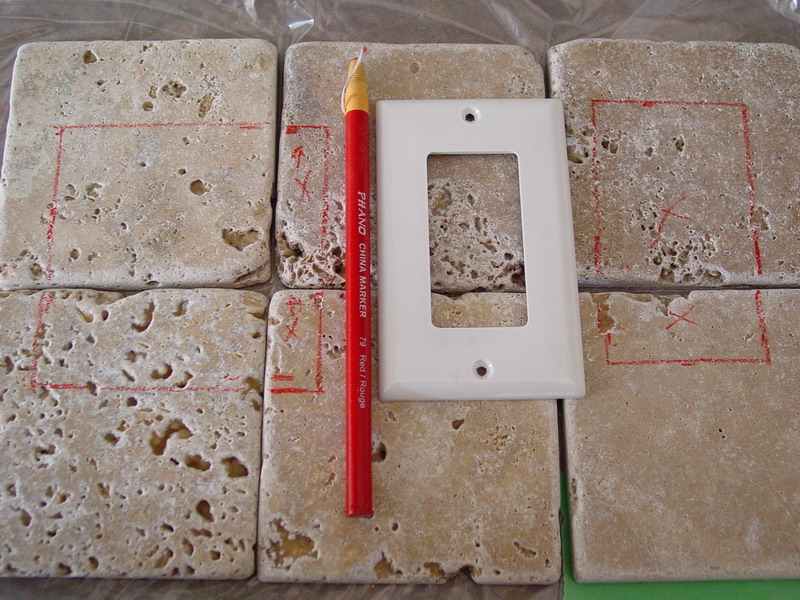
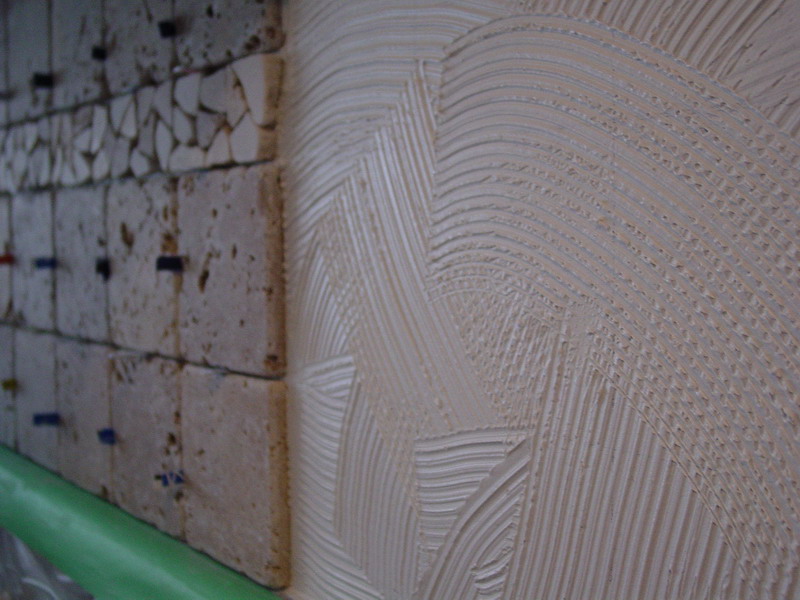
As usual, I did a mock up and precisely drew lines on the wall to form 4×4 grid to make sure everything is correct. This is a time consuming job, I bet most professionals don’t do this. Well, I don’t do this everyday so I want to make it right. strong>Tips: The advantage of drawing the grid is that, you can cut all the stones in one day, so that you only have to clean the wet saw once. Then, let the stone dry completely before sticking them to the wall on another day.
Stage 3:
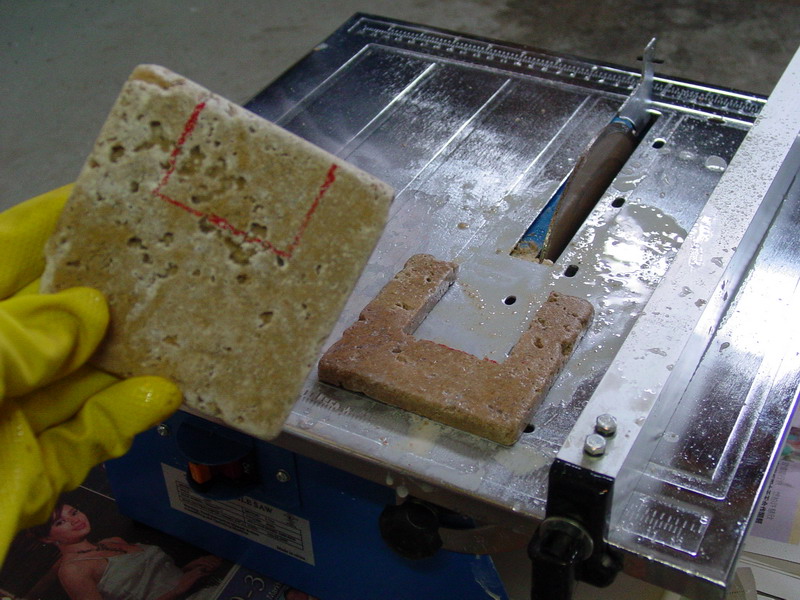
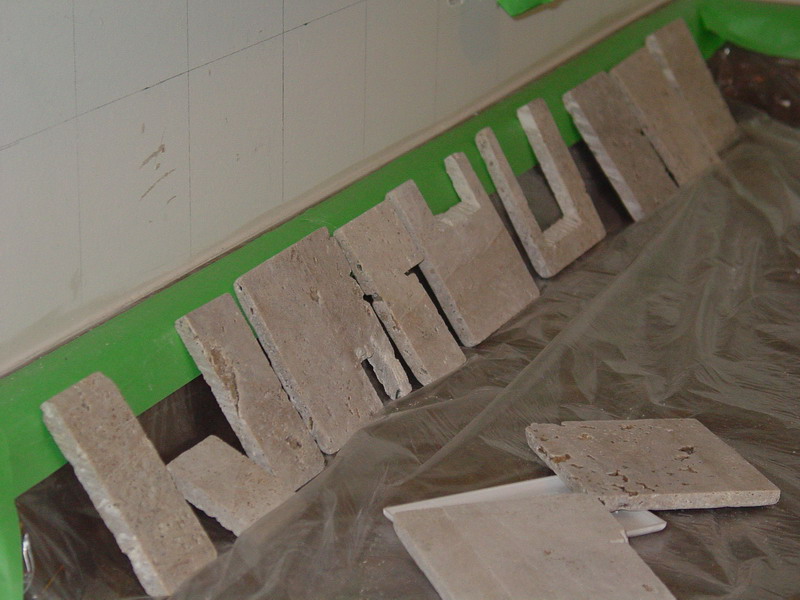
Measuring and stone cutting using diamond blade wet saw – it was horrible to use the wet saw in the garage when it was winter -15c degree outside, I needed to use the heater to prevent the water from being frozen. Tips: Get a good tile marker. To cut the rectangular shape, use the wet saw to cut several stripes and snap them using a hammer, then detail the remaining edges.
Stage 4:
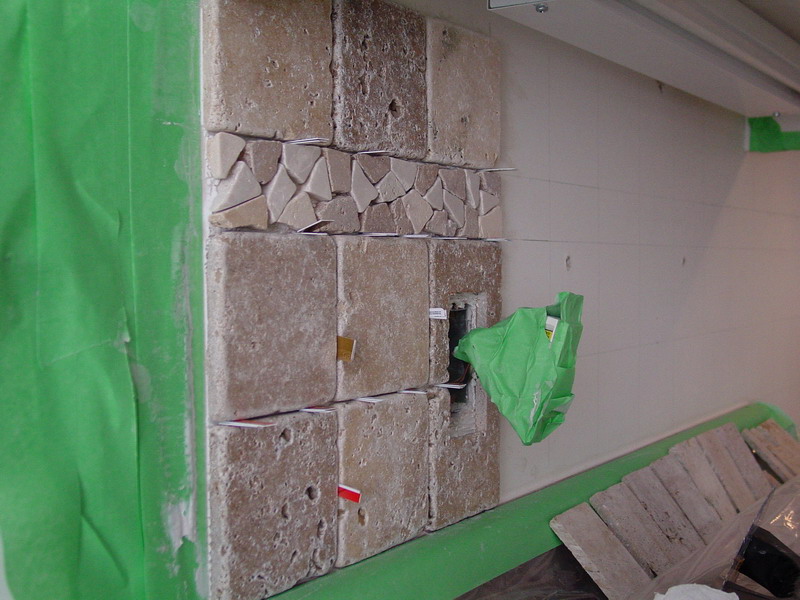
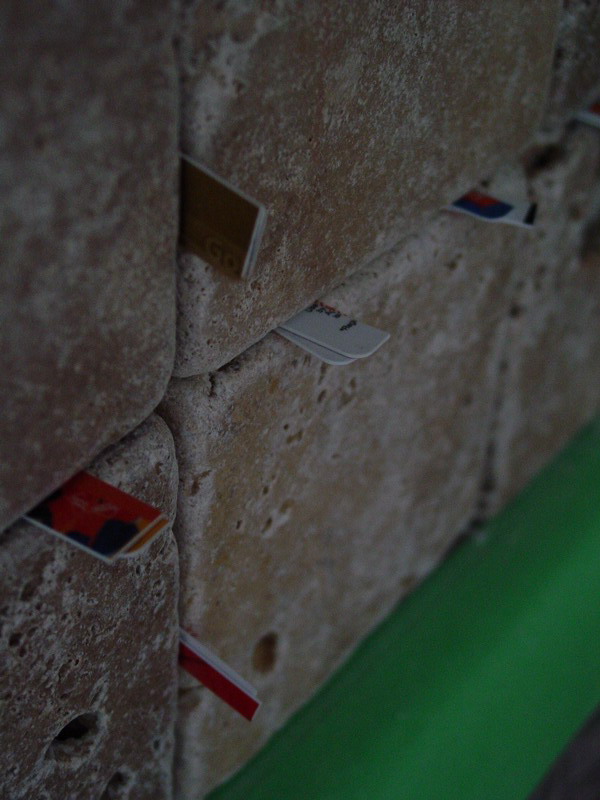
Glue the tumbled marble to the wall – Although I had the grid on the wall, it is still better to use some kind of spacer, especially to prevent the stone from sliding down due to gravity. Since it was very hard to find such smaller spacer, I cut my old credit cards and they worked very well.
Stage 5:
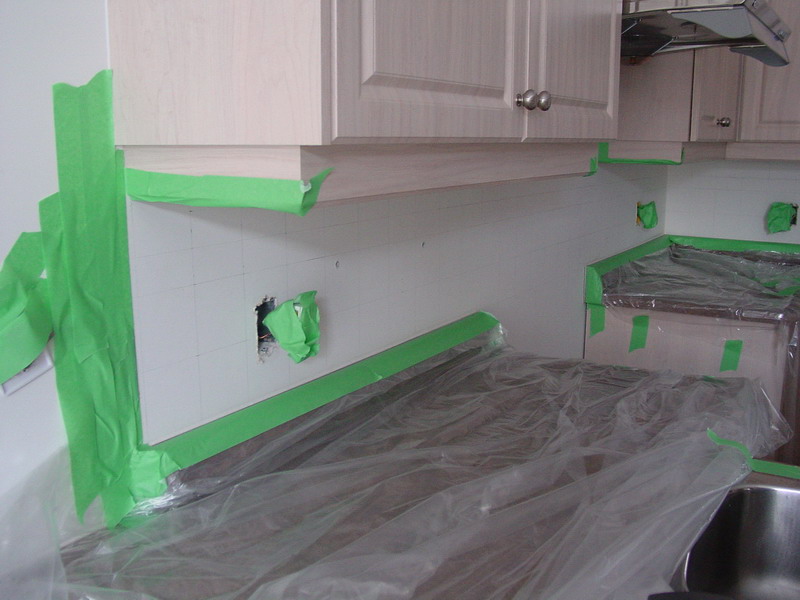
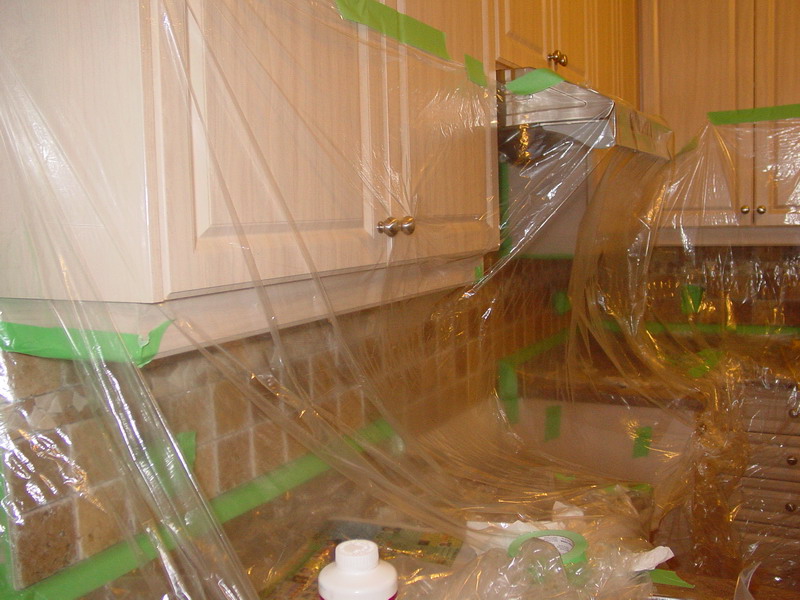
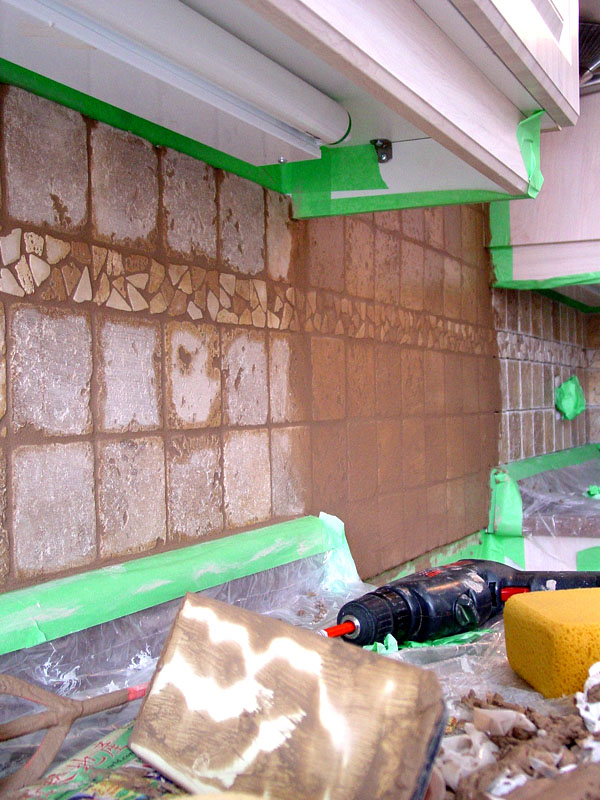
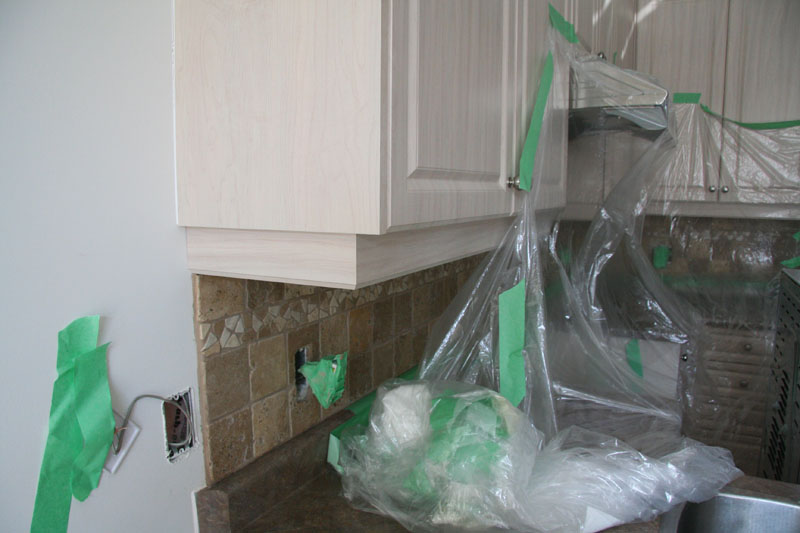
Apply 1st layer of sealant/color enhancer BEFORE grouting. Since the sealant has extremely high odor, I had to cover the counter top area using plastic drop sheet and turned on the range hood for 2 hours. Also, I intentionally left the edges unsealed because this makes the grout stick better to the marble. Tips: Always use 2″ green masking tape, don’t use 1″ especially in painting.
Stage 6:
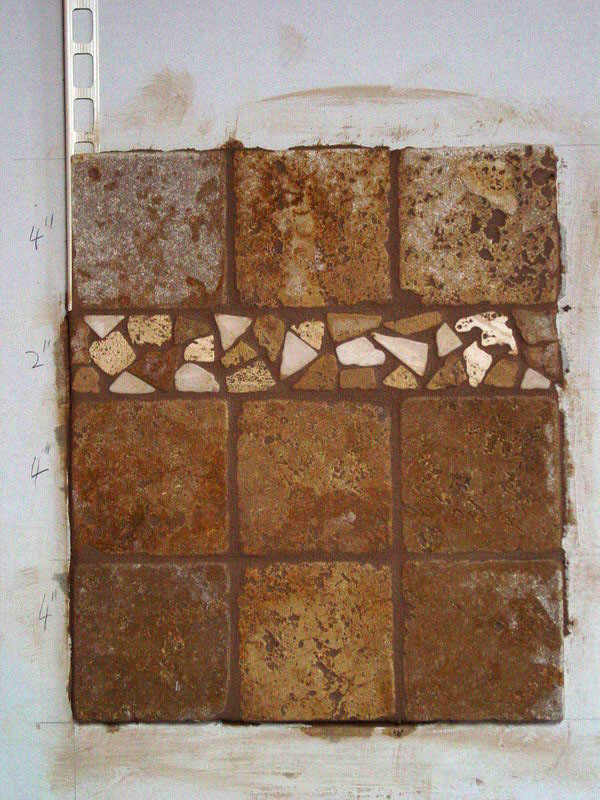
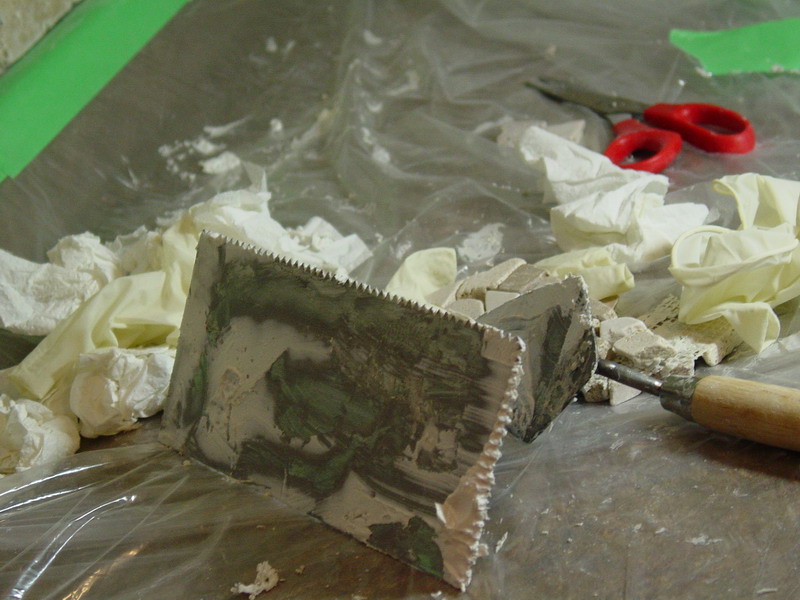
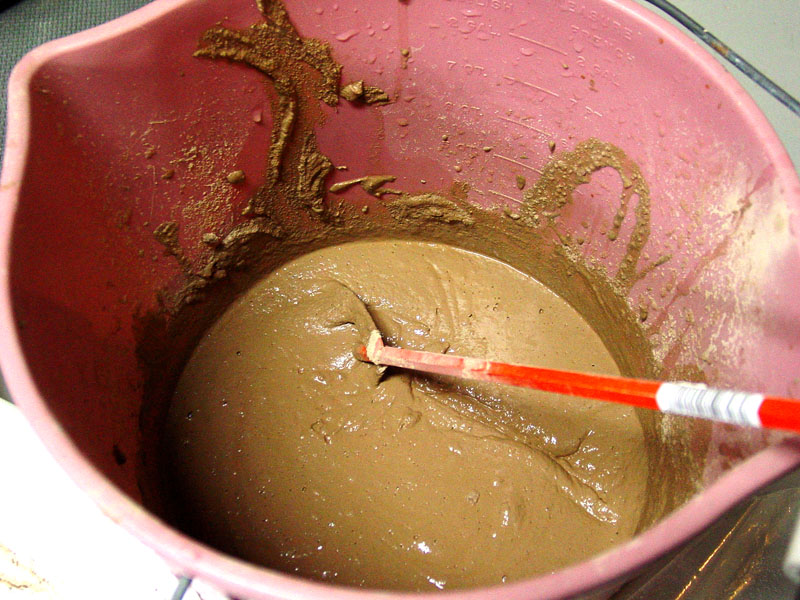
Grouting is a mess and requires another half day of work. Remember to get the “paint mixer” from dollar store, it saves you a lot of work when attached to the drill.
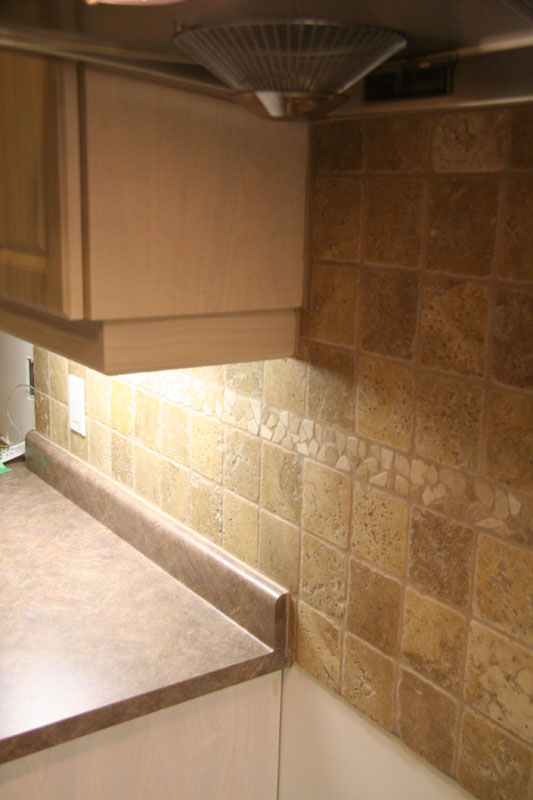
Mistake: I joined an home improvement forum and posted my pictures there. The expert guy who is the moderator said that I should have removed the range hood and tiled behind it too. Because if I ever replace it, it will ruin the backsplash. Indeed, he is right! But too late for me to change, lesson learned.
Stage 7:
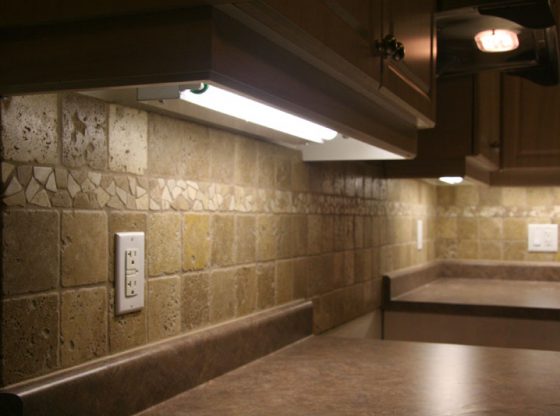
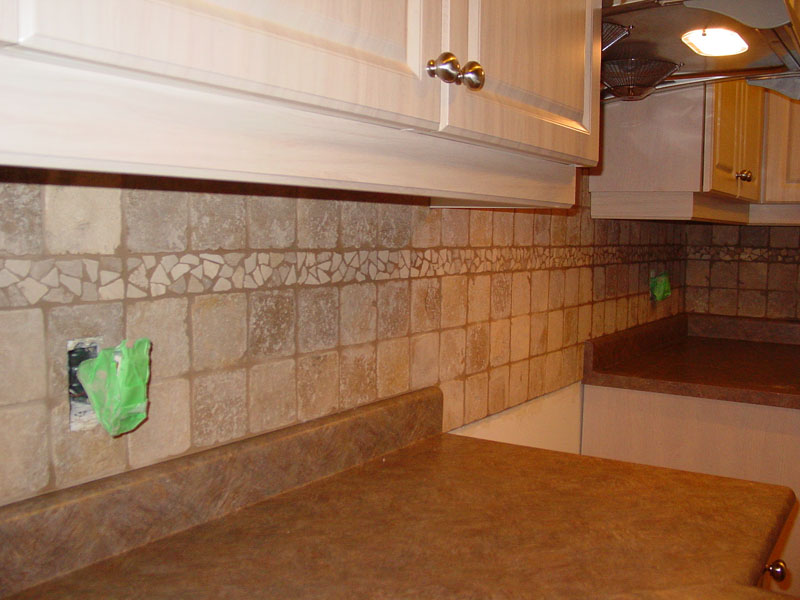
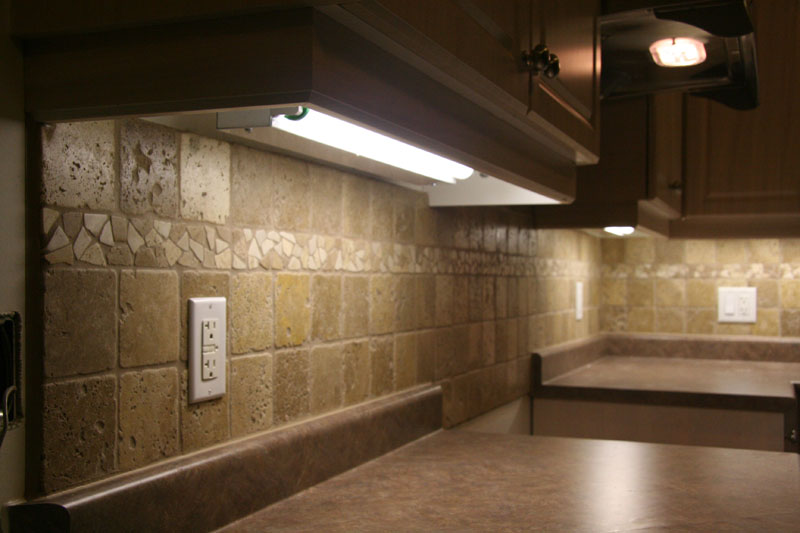
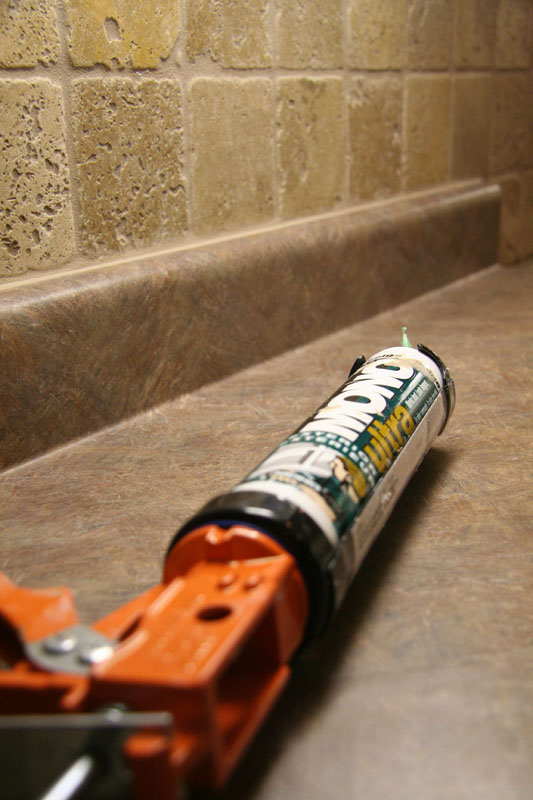
Final coat of Sealant/color enhancer and Caulking – The sealant that I got has extremely high odor, I had to cover the counter top area using plastic drop sheet (see Stage 5 too). Finally I applied 2 coats to get a glossy finish. The next problem is caulking, I planned to use silicone II but due to limited color selection, I had to use MONO exterior. It looks very nice!
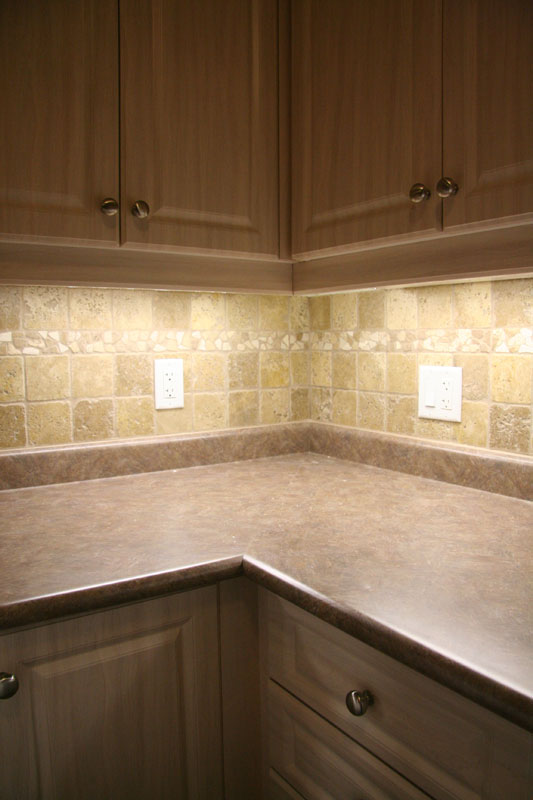
Looks great! Good job!